I acquired a "First Act" drumset for $30. I really only wanted the 18"-diameter bass drum that came with it (though I may eventually do something with the other pieces; I'm also currently using the included hi-hats and stand for practice). The shells seemed to be made of a 6-ply basswood. It may have been poplar, but it was awfully soft, had almost no visible grain, and was a very, very pale color.
It was originally covered with an iridescent blue/green-ish wrap. Yuck! Stripped that off, using a hair dryer to soften the adhesive. Then came several hours of scrubbing with rags soaked in acetone (while wearing rubber gloves!) to get rid of bits of adhesive that weren't scraped off earlier. (I used acetone because some post on some forum on the internet said that it would 1) actually get off the gunk, 2) dry cleanley, and 3) not stain or damage the wood in the process.)
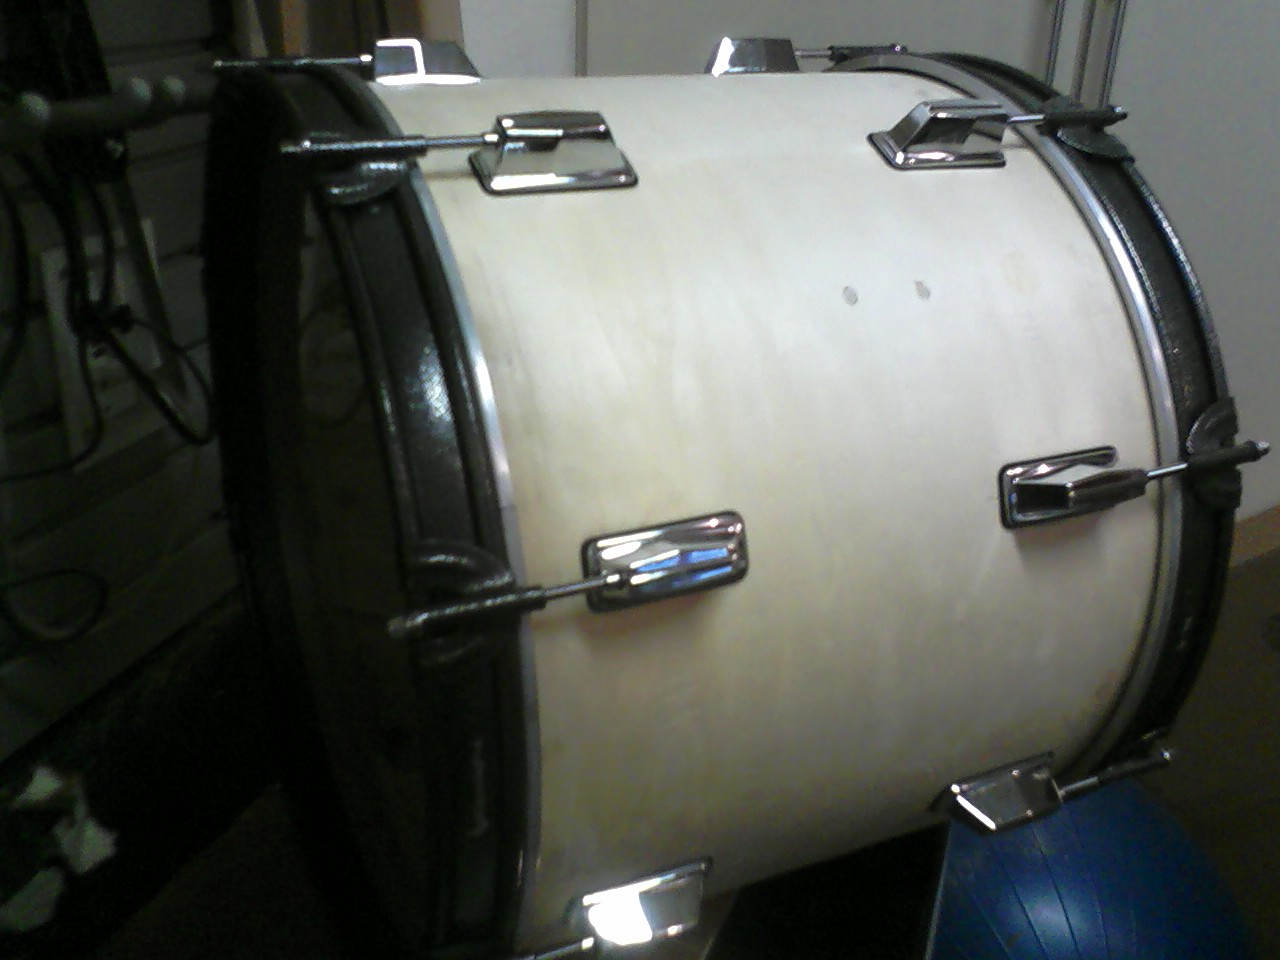
(This photo is not my set, but a similar one that was on sale on one of the online auction sites.) 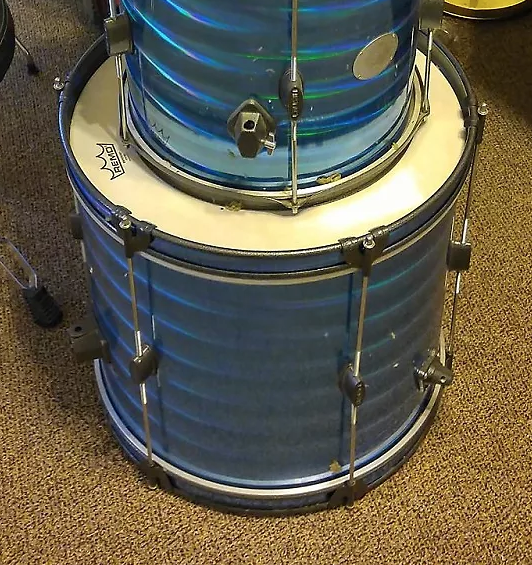
When finally stripped, I clamped a handsaw to boards that were clamped to the workbench. I could cut the shell by spinning it against the handsaw; here is someone else's video showing the process. I cut two rings of wood from the shell, each ending up slightly larger than 1 1/4". It had originally been 16" deep, but I wanted it shallower, somewhere in the 12-14" range. I didn't attempt the acoustical calculations to see if that's an ideal size to produce pleasant resonance for that size drum, and I don't have another kit currently to compare it to, but I was guessing the shallower size would still sound OK (and, perhaps most importantly, reduce the floorspace required for the drumset such that I could potentially fit it in my house!).
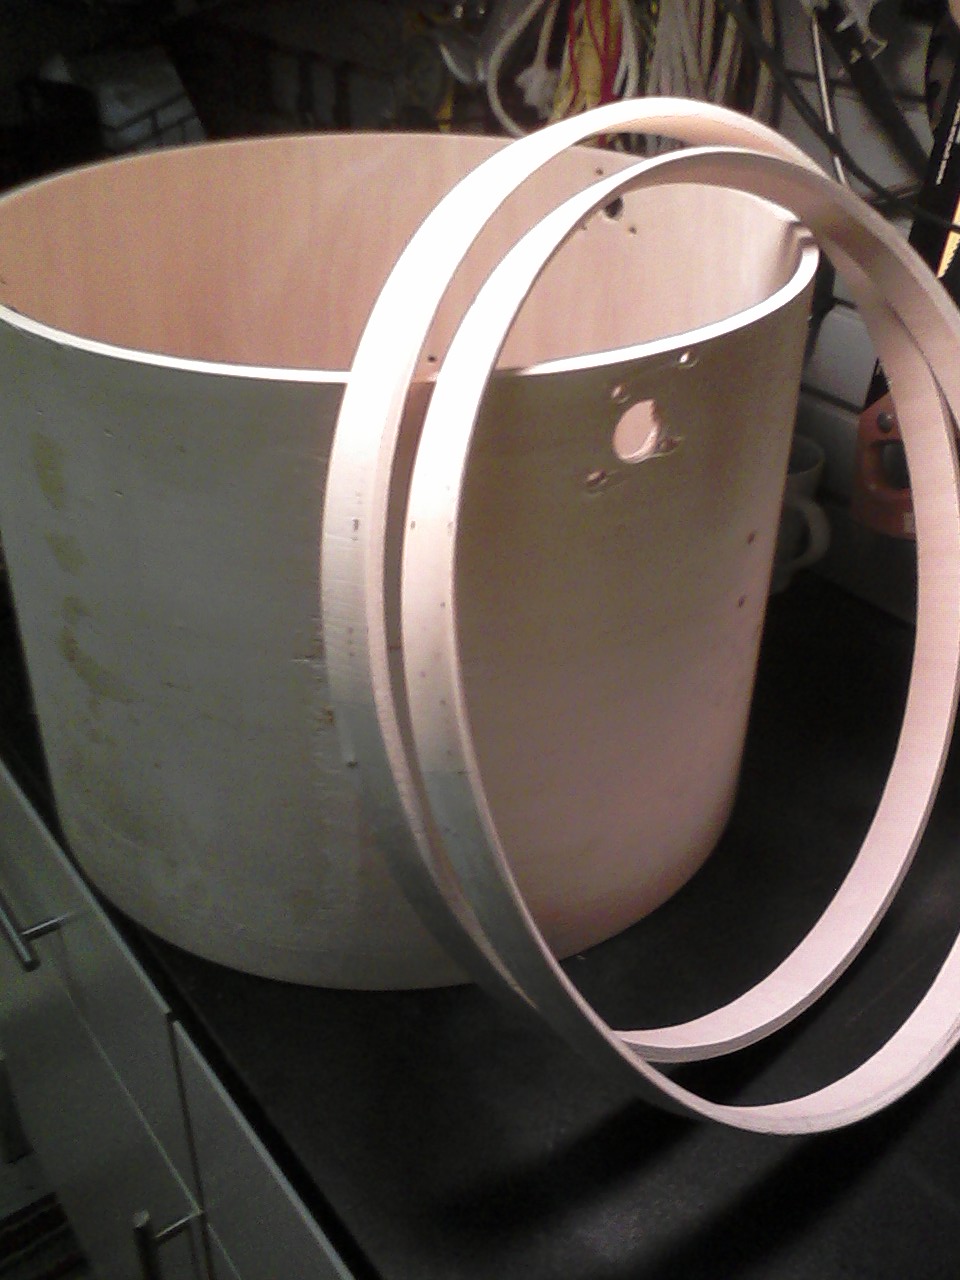
The next step was to cut a small segment out of each ring. I wanted to glue the rings 1/2" or so down from the bearing edge inside the shell to provide reinforcement.
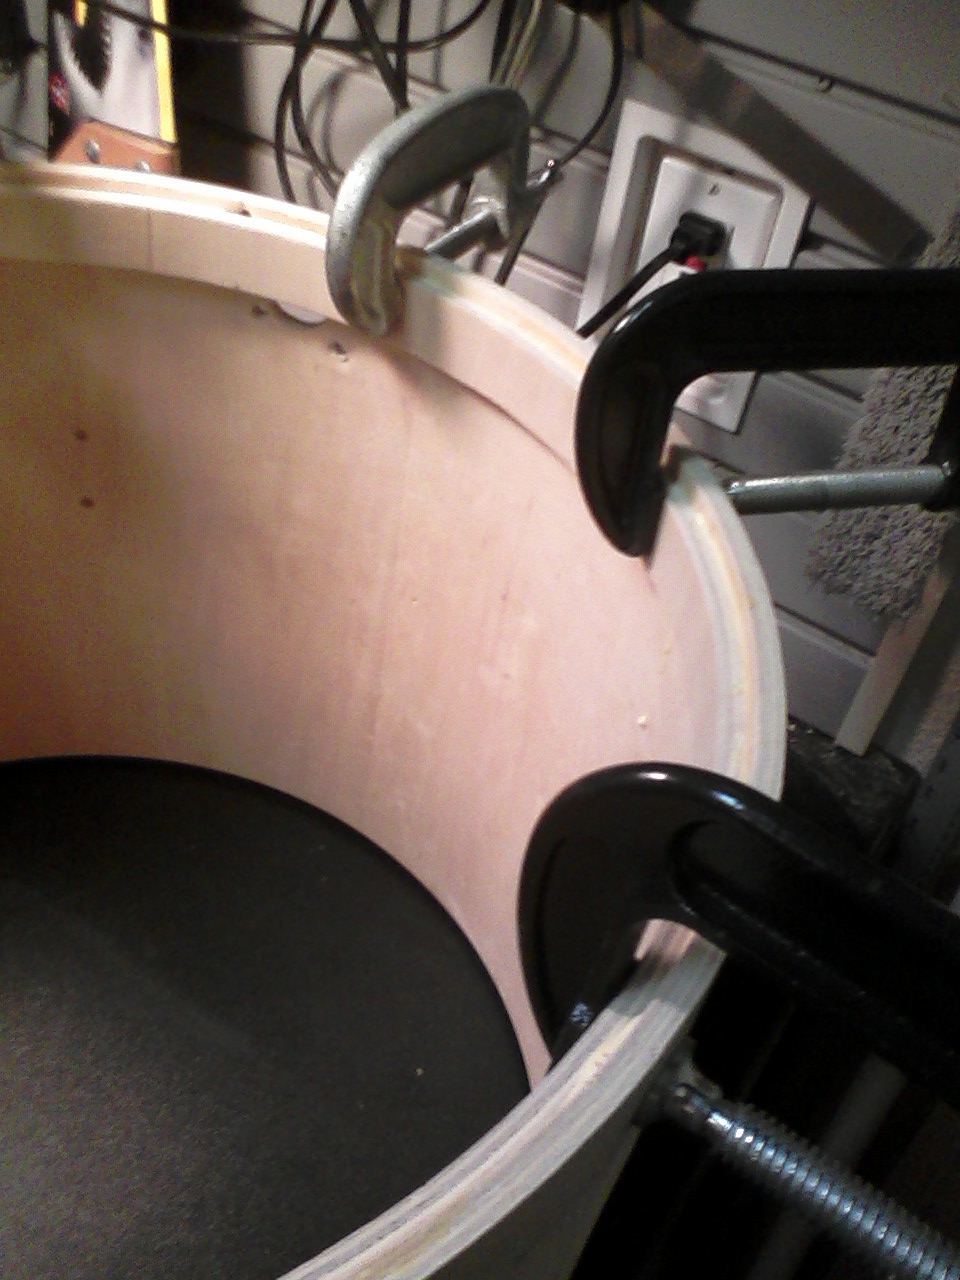
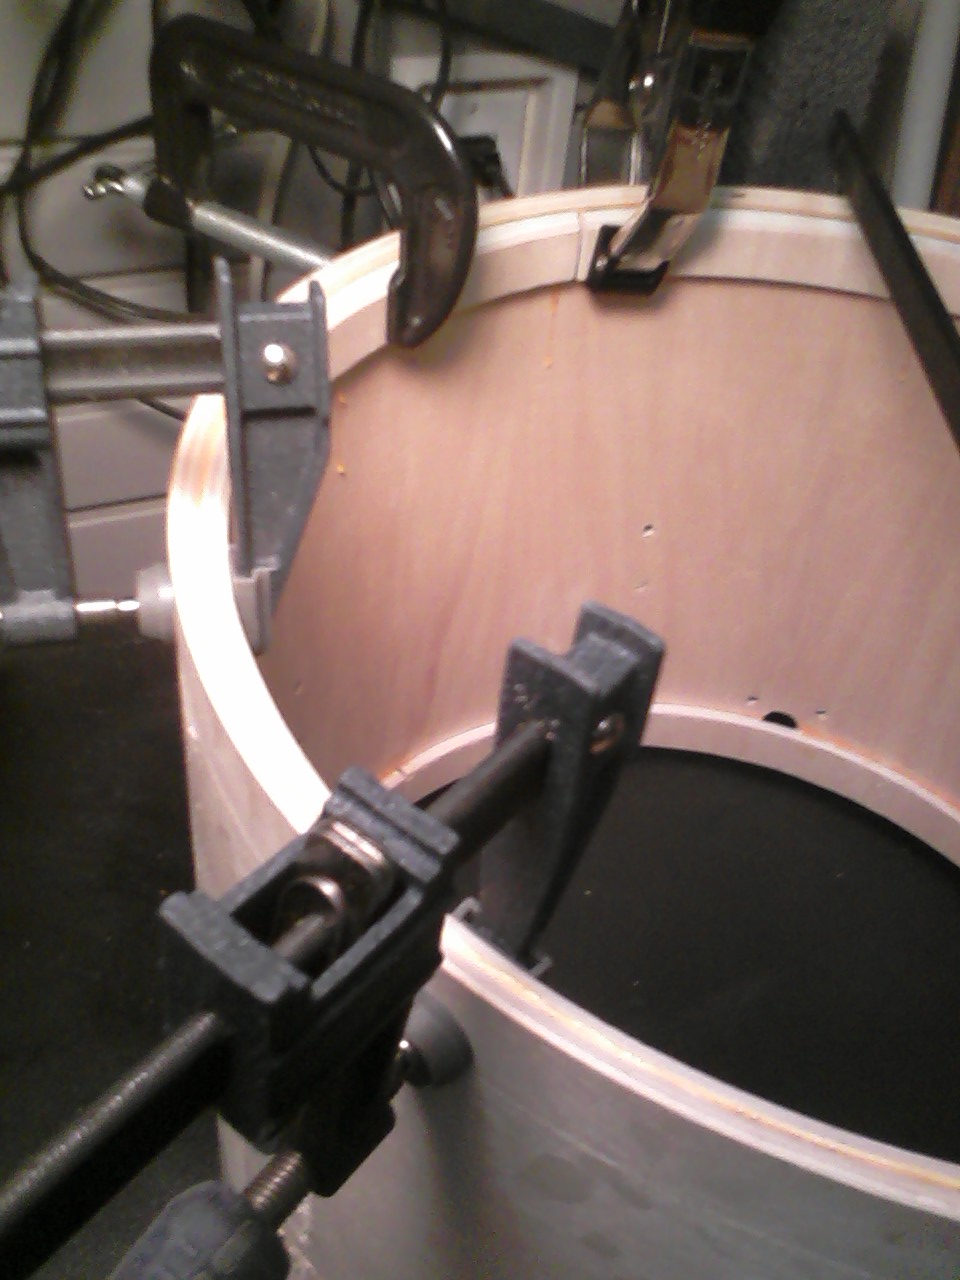
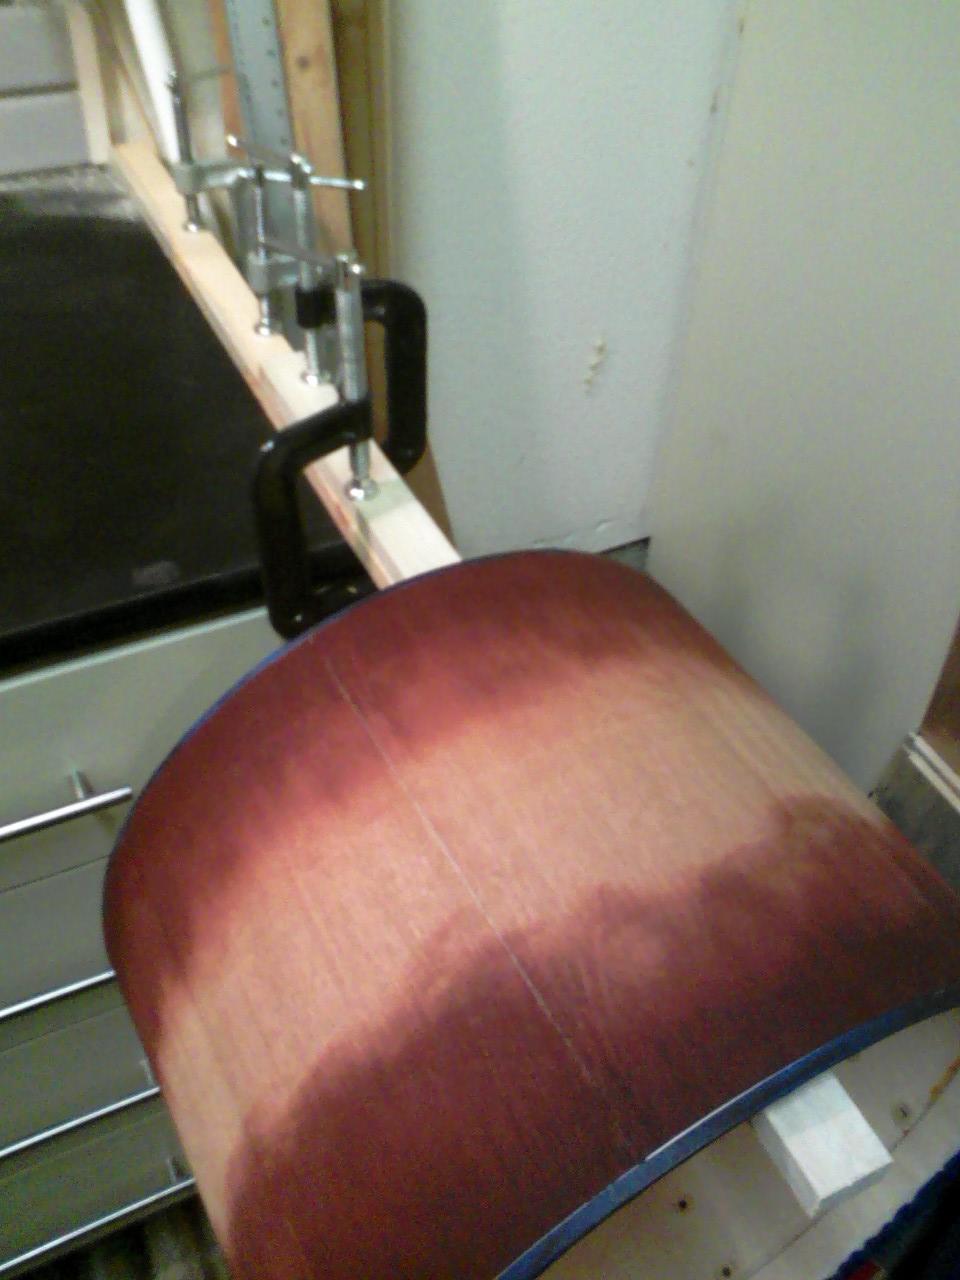
Next was fitting and gluing the rings inside the shell, one end at a time. I had 9 clamps to use; 16-20 would have been better.
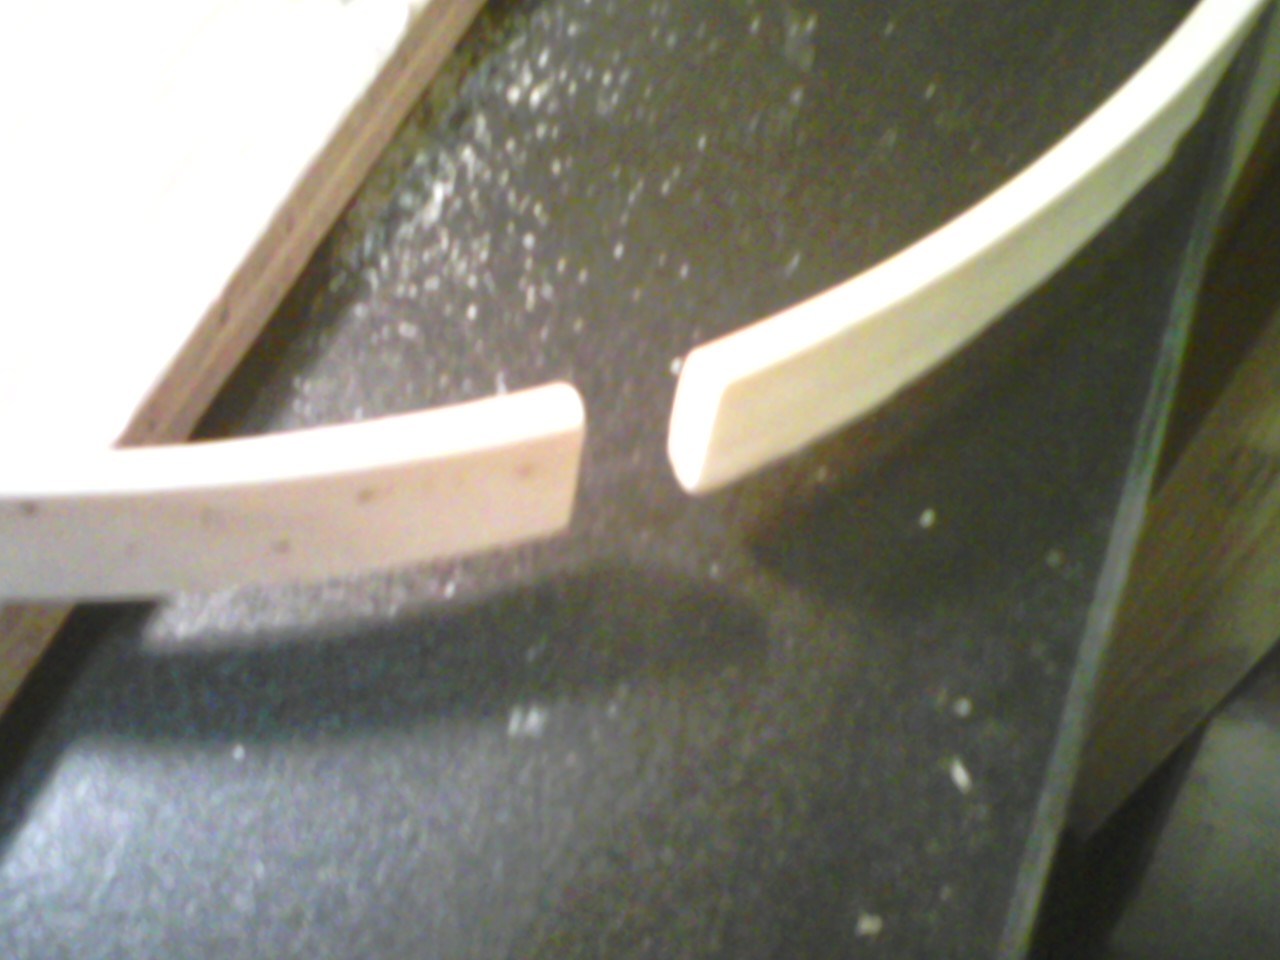
You can see the gap where I cut the segment out of the ring; I probably over-estimated how big of a segment to slice out originally, but I later found some suggestions on cutting and fitting the rings: cut the ring to be a little large to fit inside the shell, use clamps to hold the ring while dry-fitting, and shave/sand off thin amounts at the seam until it fits tightly (with the clamps cinching up the ring as snug as possible).
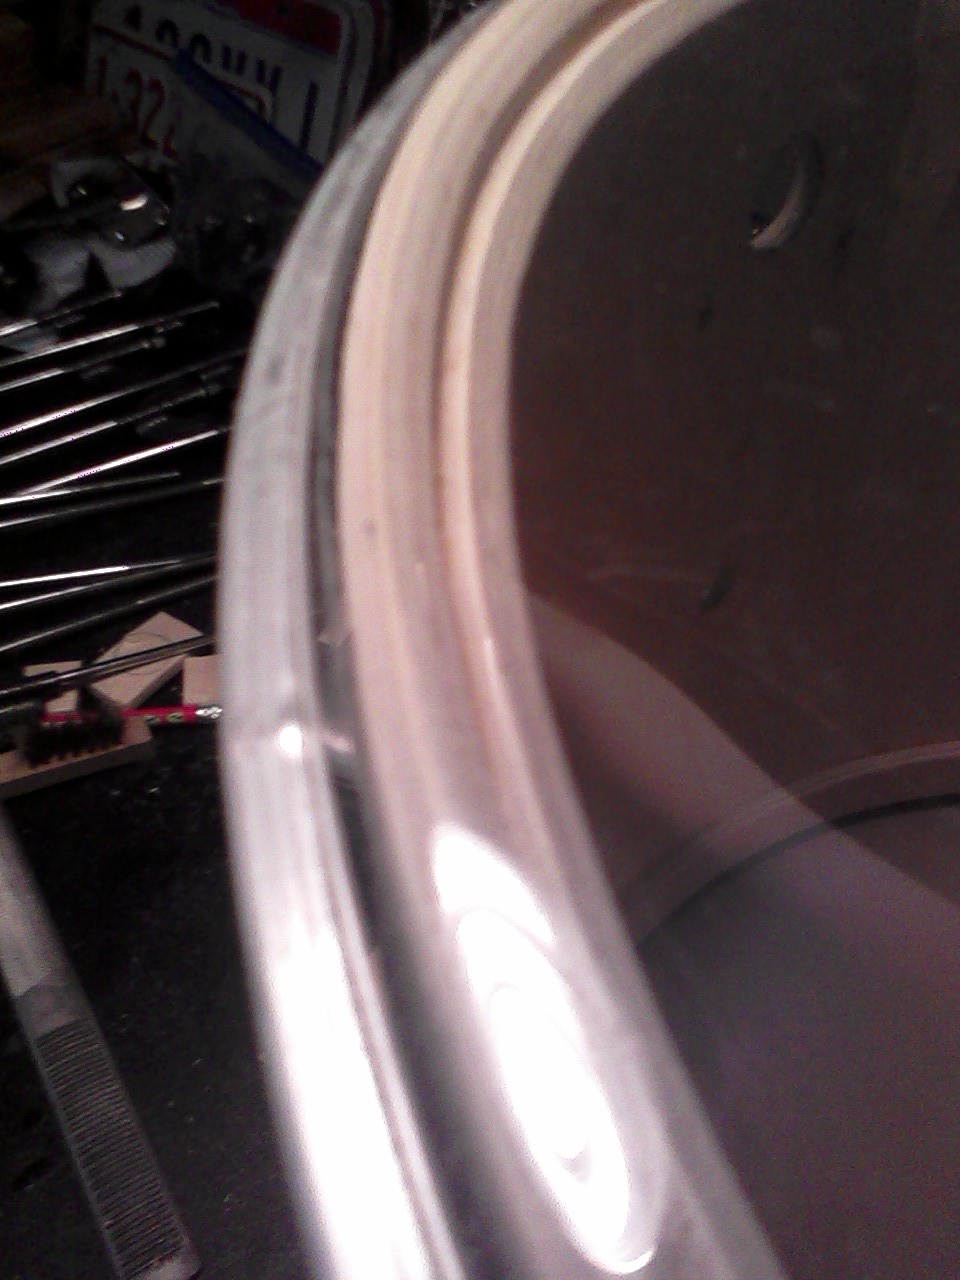
Once the glue had dried, I had to cut a new bearing edge. (I left one original bearing edge intact, having cut the rings from only one end of the shell.) I don't own a router, so I did this all by hand, using a half-round rasp and file, as well as plenty of sandpaper.

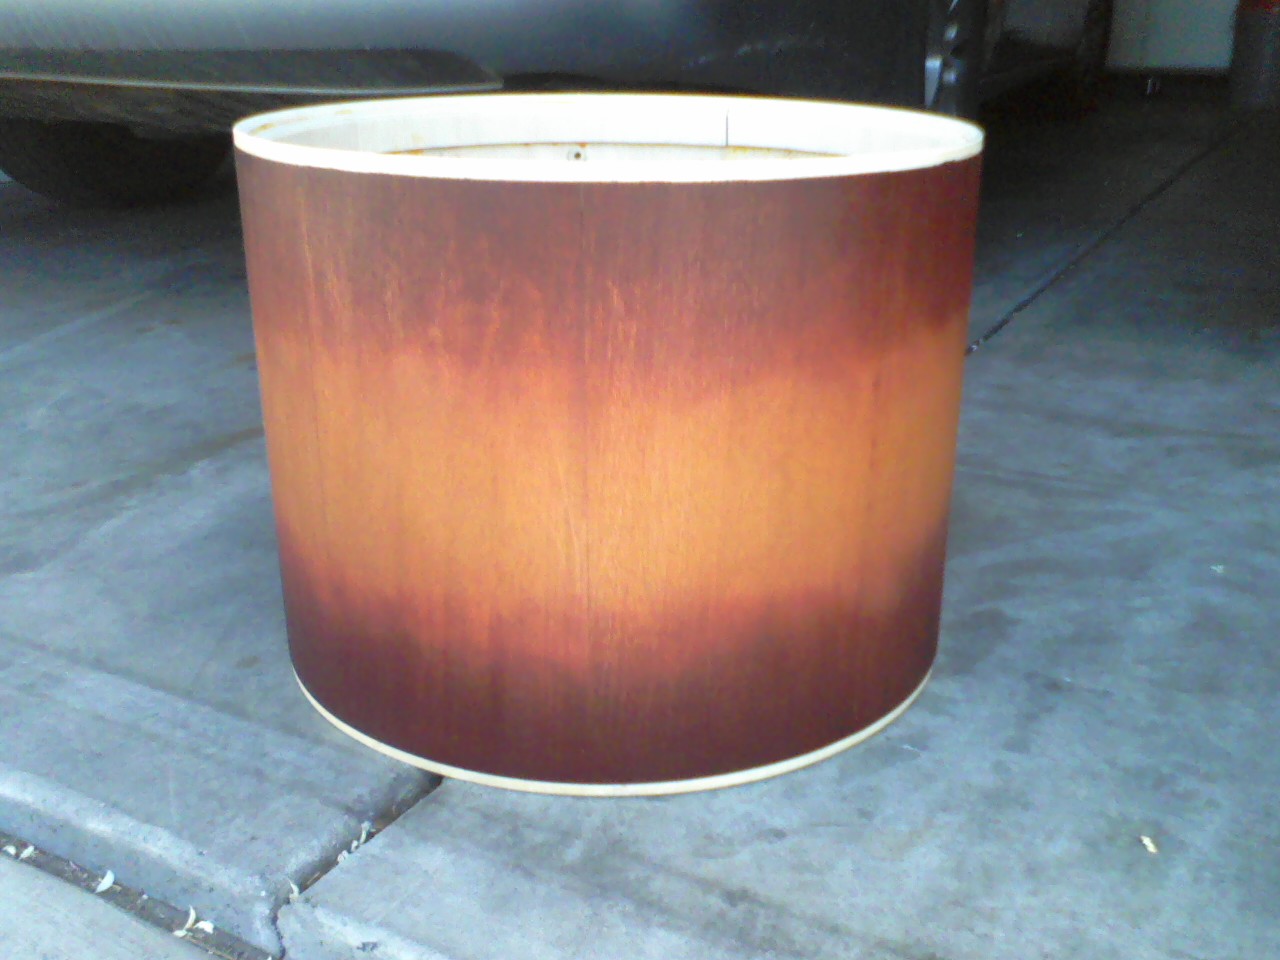
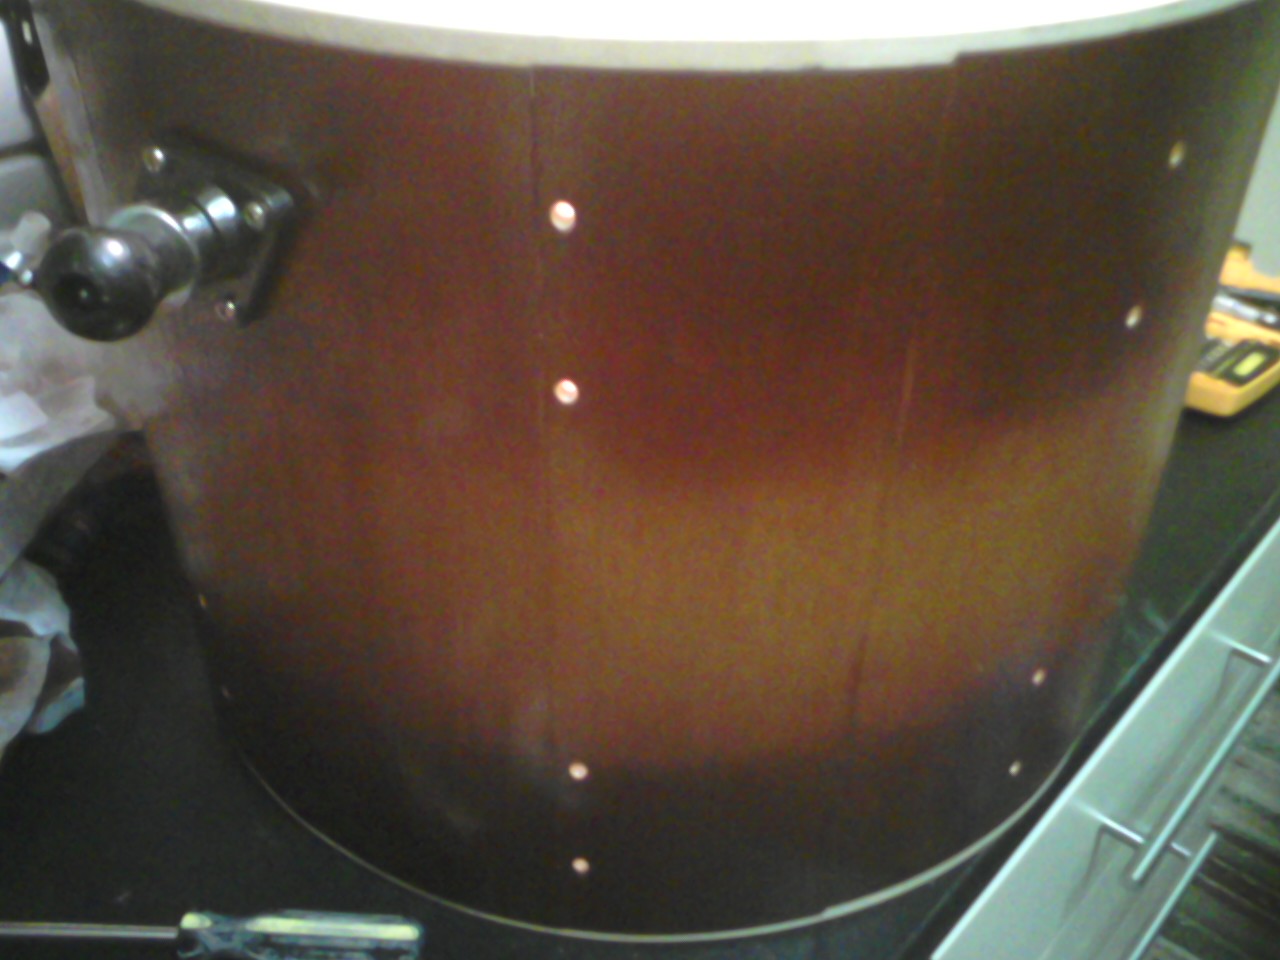
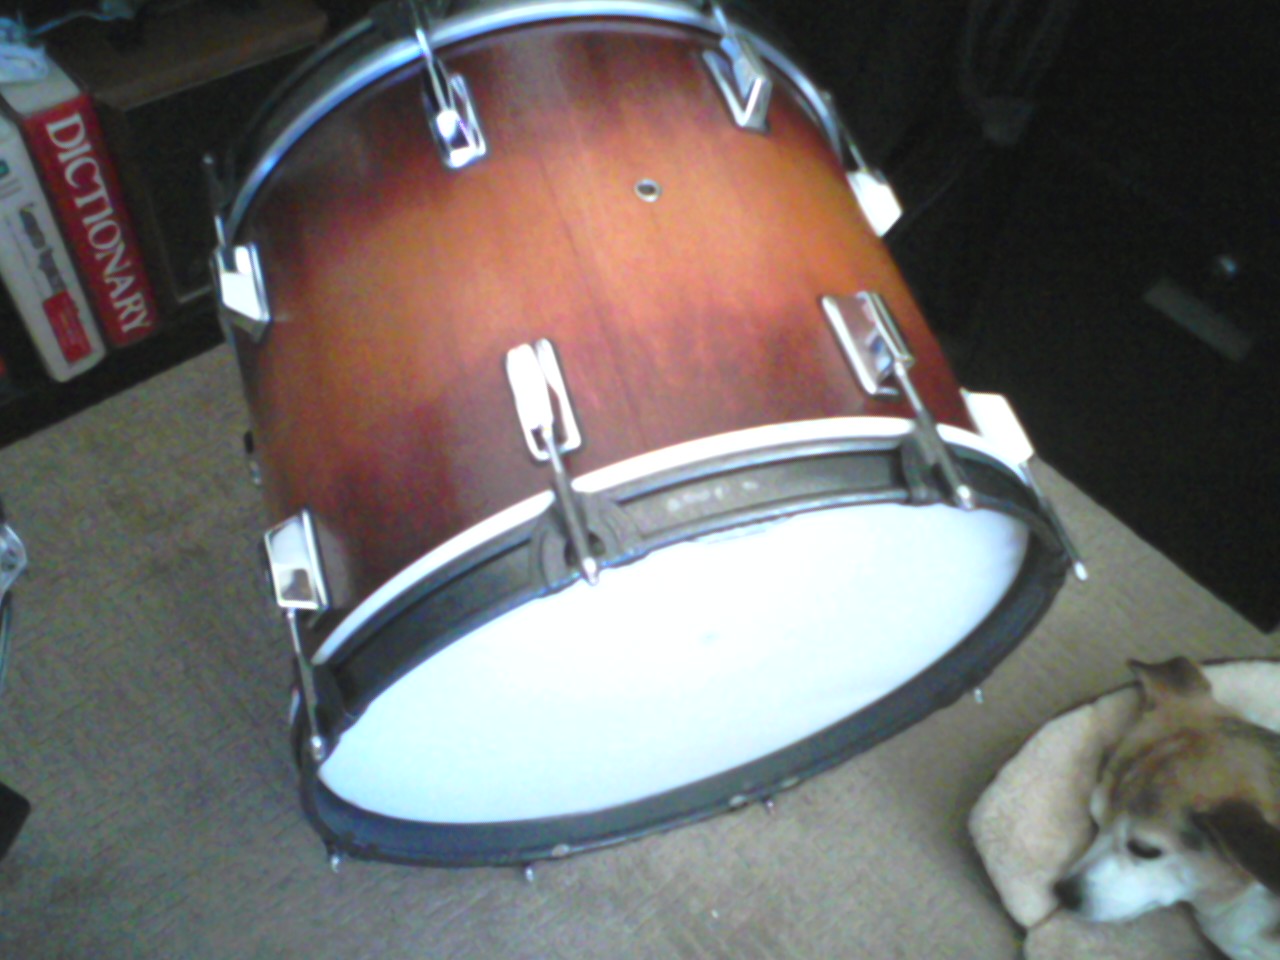
Here's a shot with the new finished bearing edge (under a clear head):
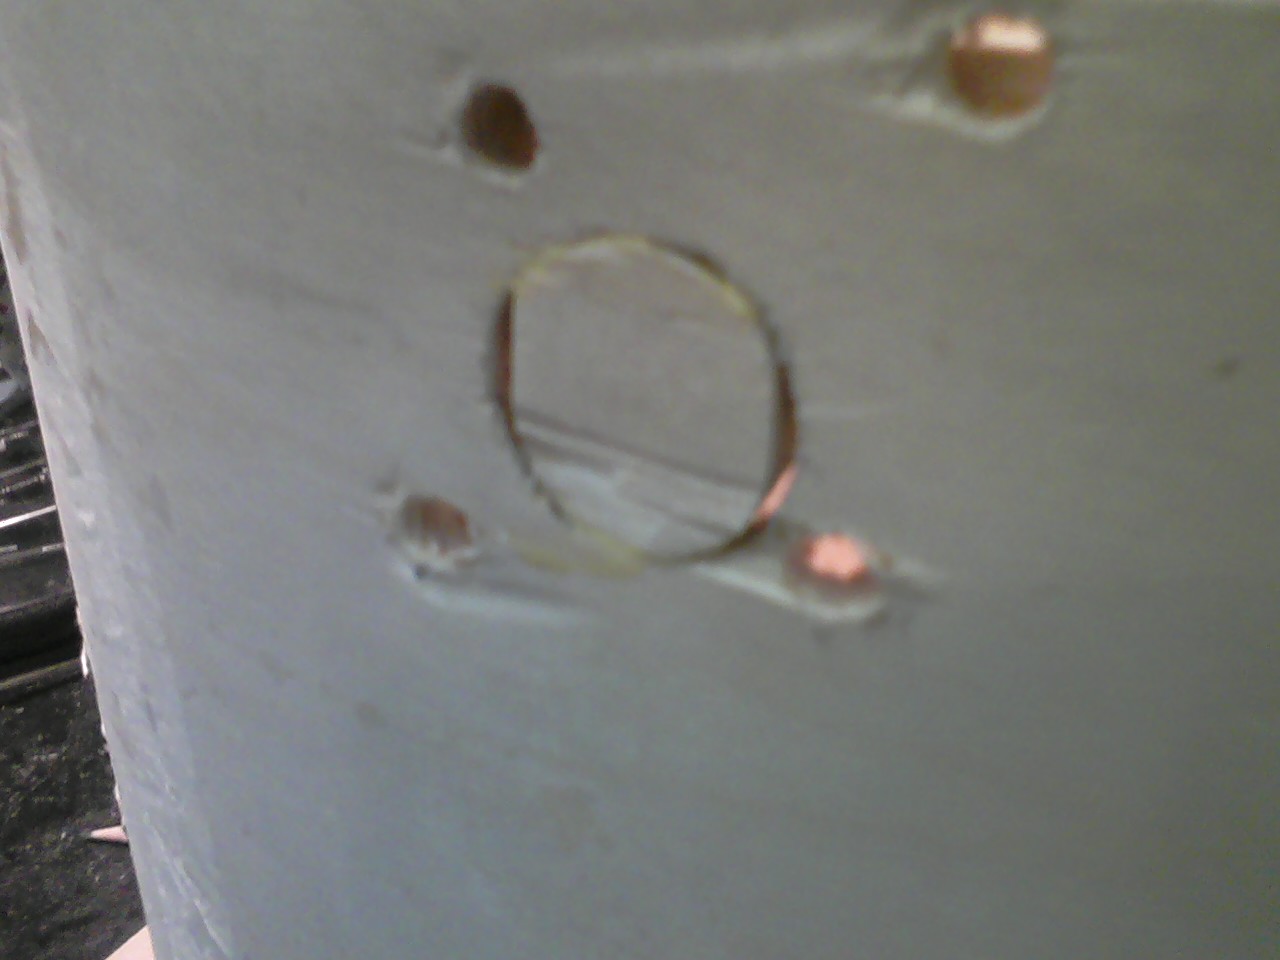
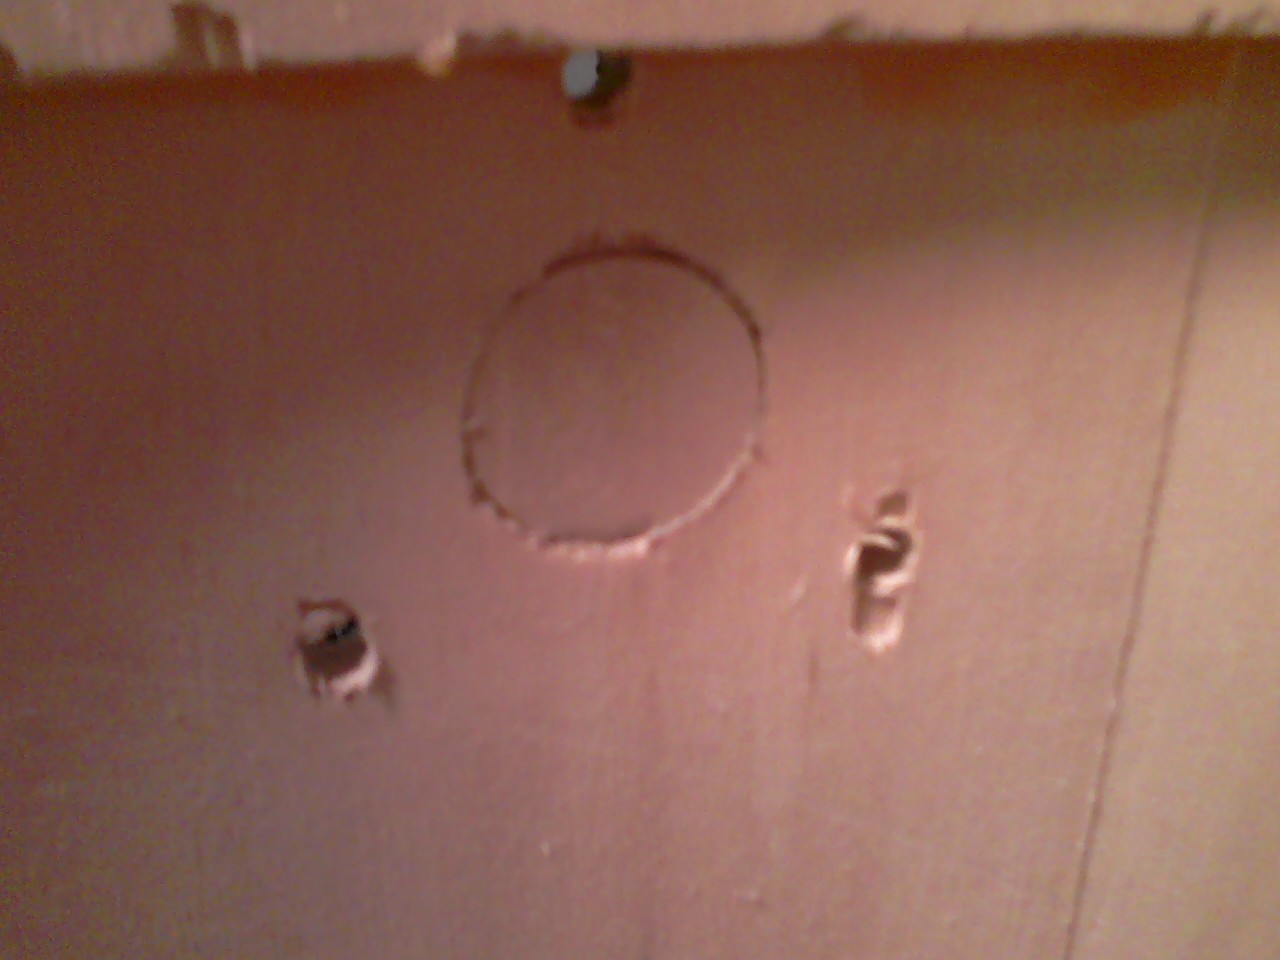
Next up was filling in the old lug, tom-mount and spur mounting holes. I filled in the small ones with bits of dowels, and the larger holes with a piece rounded out from the segments I cut from the rings. I filled the gaps with wood putty.
Given I'd cut the rings from the original resonant side, I would have to either re-drill the tom-mount and spur mounting holes. I re-drilled the spur mounting holes (described further down the page), but opted to go for a "virgin" shell look and not re-use the tom-mount.
All that was quite a lot of work. But here comes a fun part...
...shopping for hardware! If you look at the original, you'll notice: 1) there are only 6 lugs, and 2) they are configured as a single lug in the center with two (long!) tension rods coming out either end. The dual-sided lug configuration is often all that will fit on a shallow drum (like a snare), but for a bass drum, and with those long tension rods, it screamed instability (and cheapness!) to me. So I ordered a bunch of stuff to bring this drum up-to-snuff hardware-wise: 16 new lugs + tension rods + mounting hardware, 4 new claws (since I re-used the 12 original ones), and a few more bits and pieces of usefully-shaped metal, plastic and rubber.
Meanwhile, I had to figure out how to get this drum looking like what I wanted. And what I wanted was a mahogany/amber-burst. I had some previous experience from having built a snare drum out of a used tom, but this shell was basswood or some similar lightly colored wood, not mahogany like the snare. Time for research; could I stain it? If not, what else could I do?
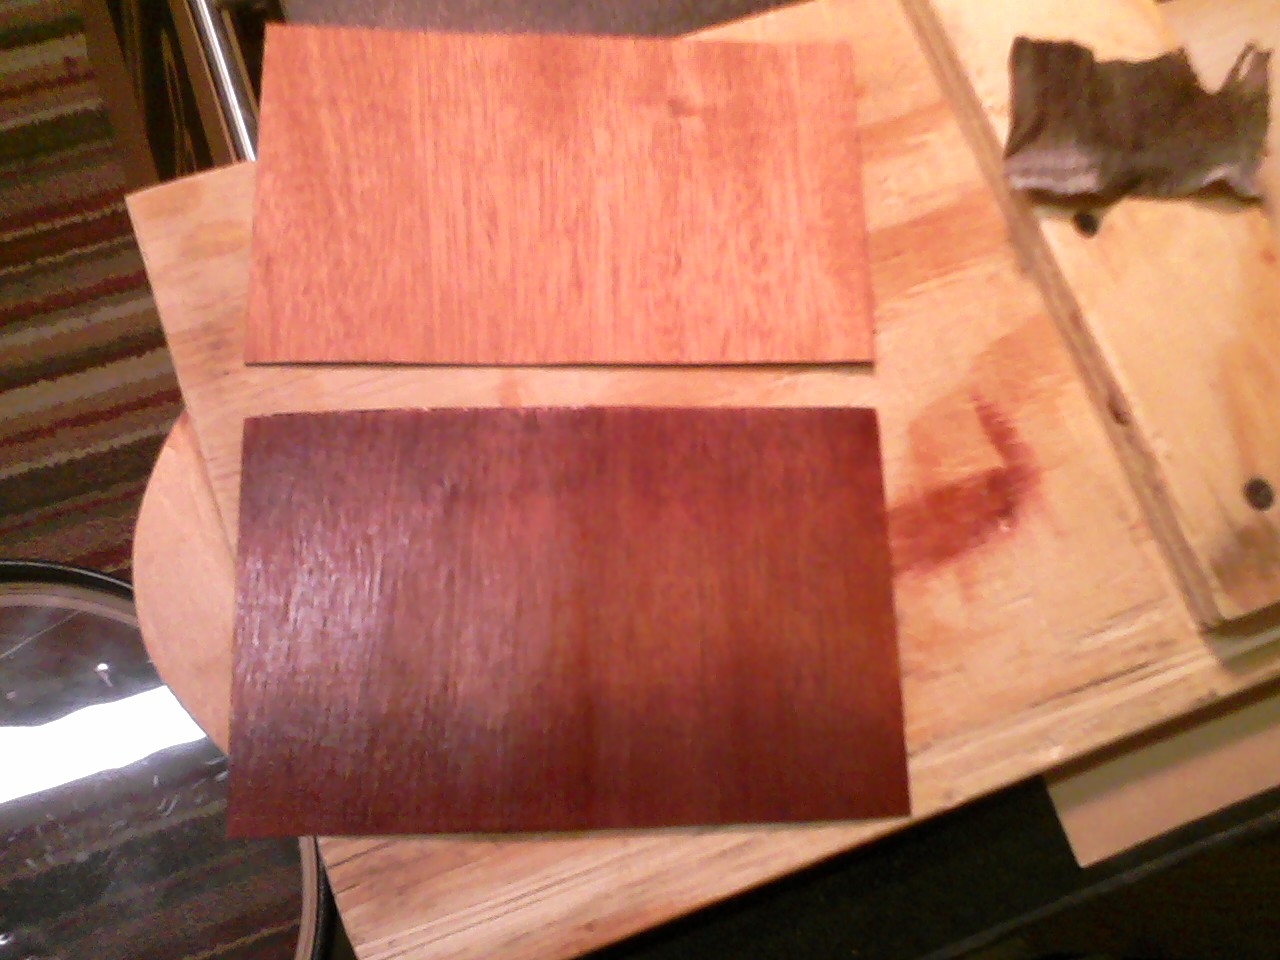
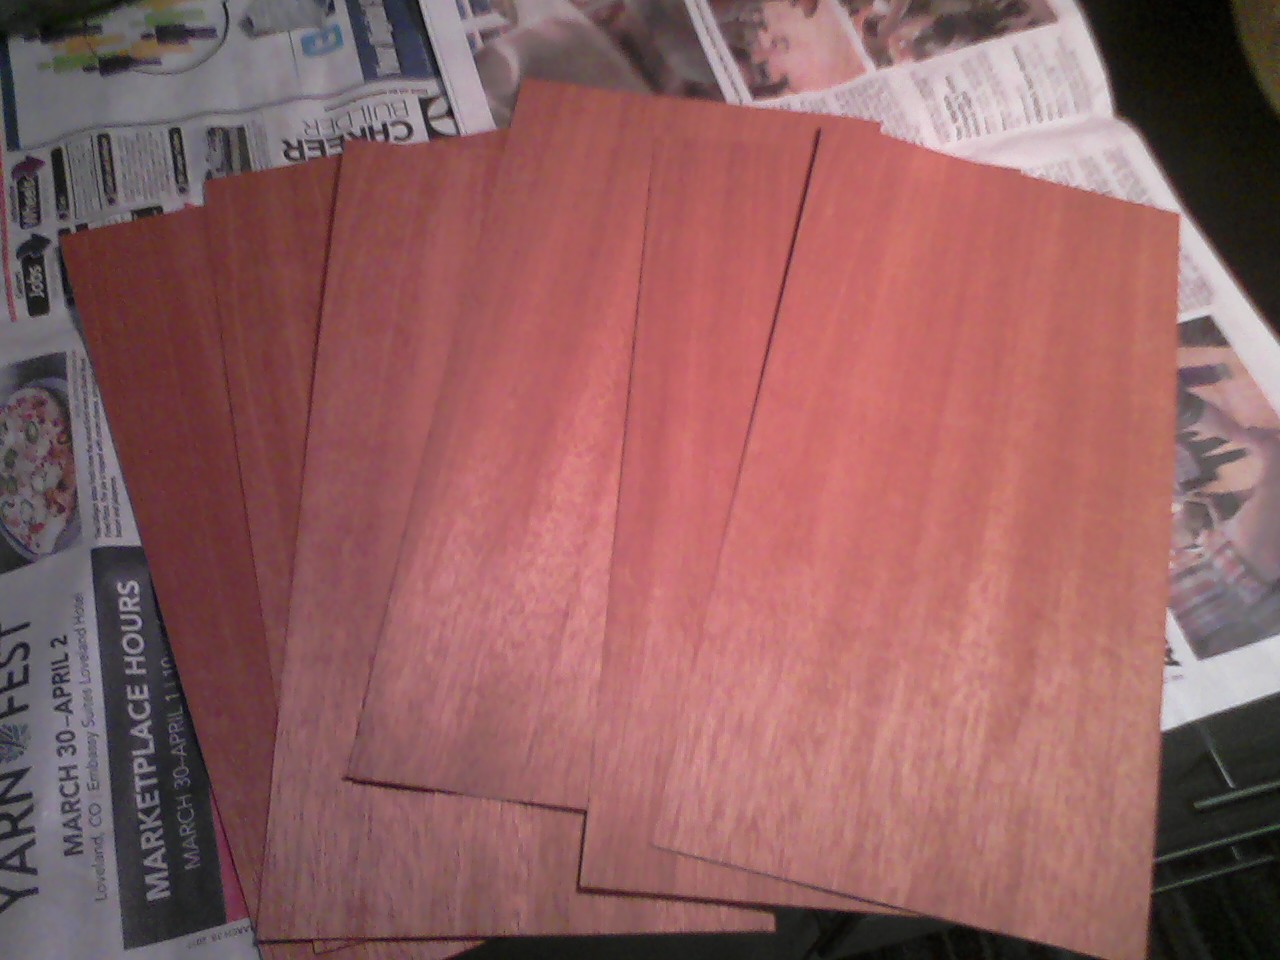
The answer was to cover the outside of this shell with a mahogany veneer, then do the color-burst treatment to the veneer. I acquired veneer and contact cement, and ran through some tests with the stains and coatings to make sure it would come out like I wanted.
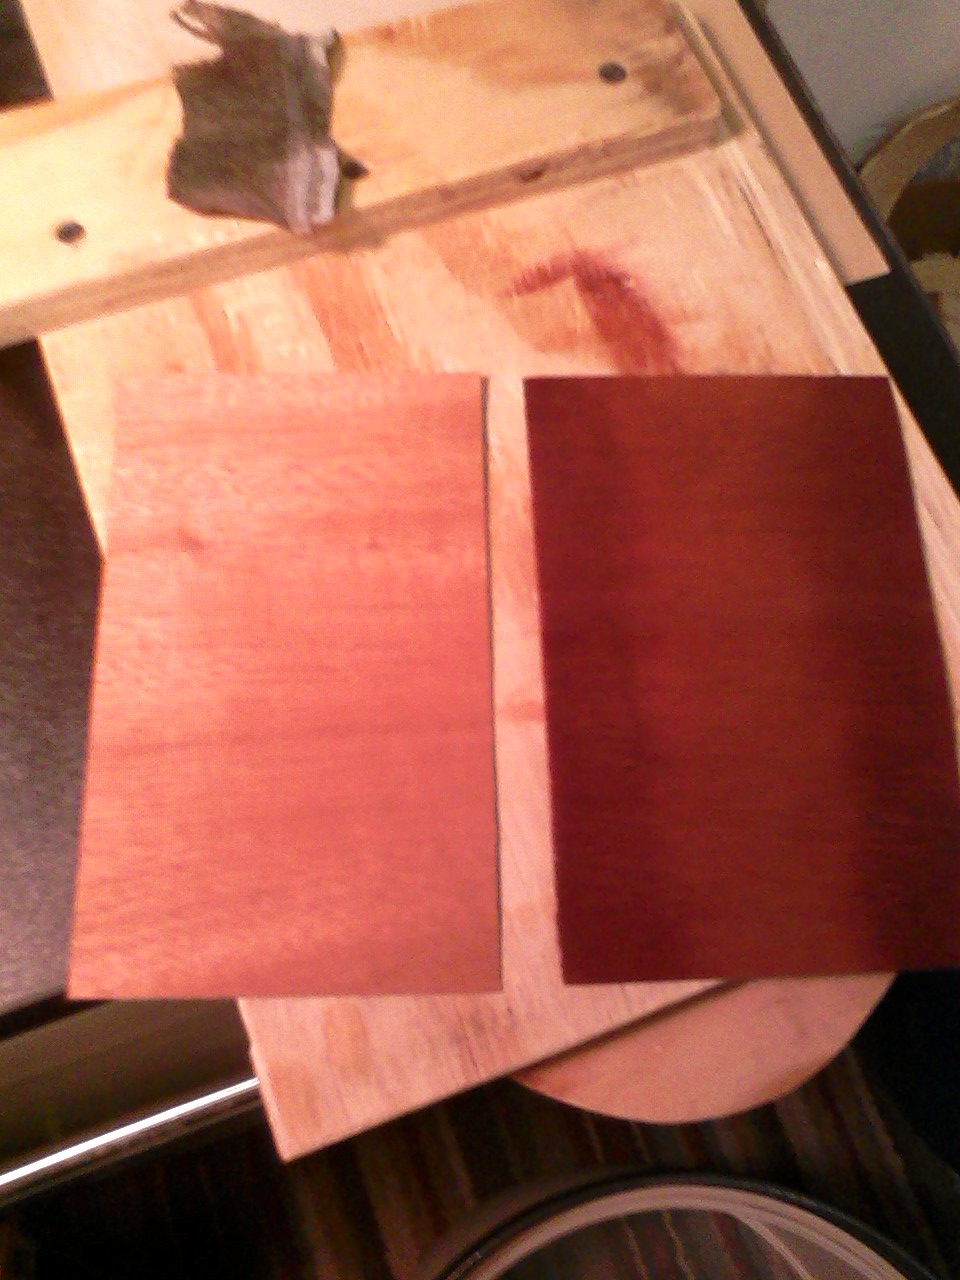
The sample at the top (or the left in the previous photo) is the raw, un-stained veneer. The other sample shows the stain under different numbers of coats of polyurethane.
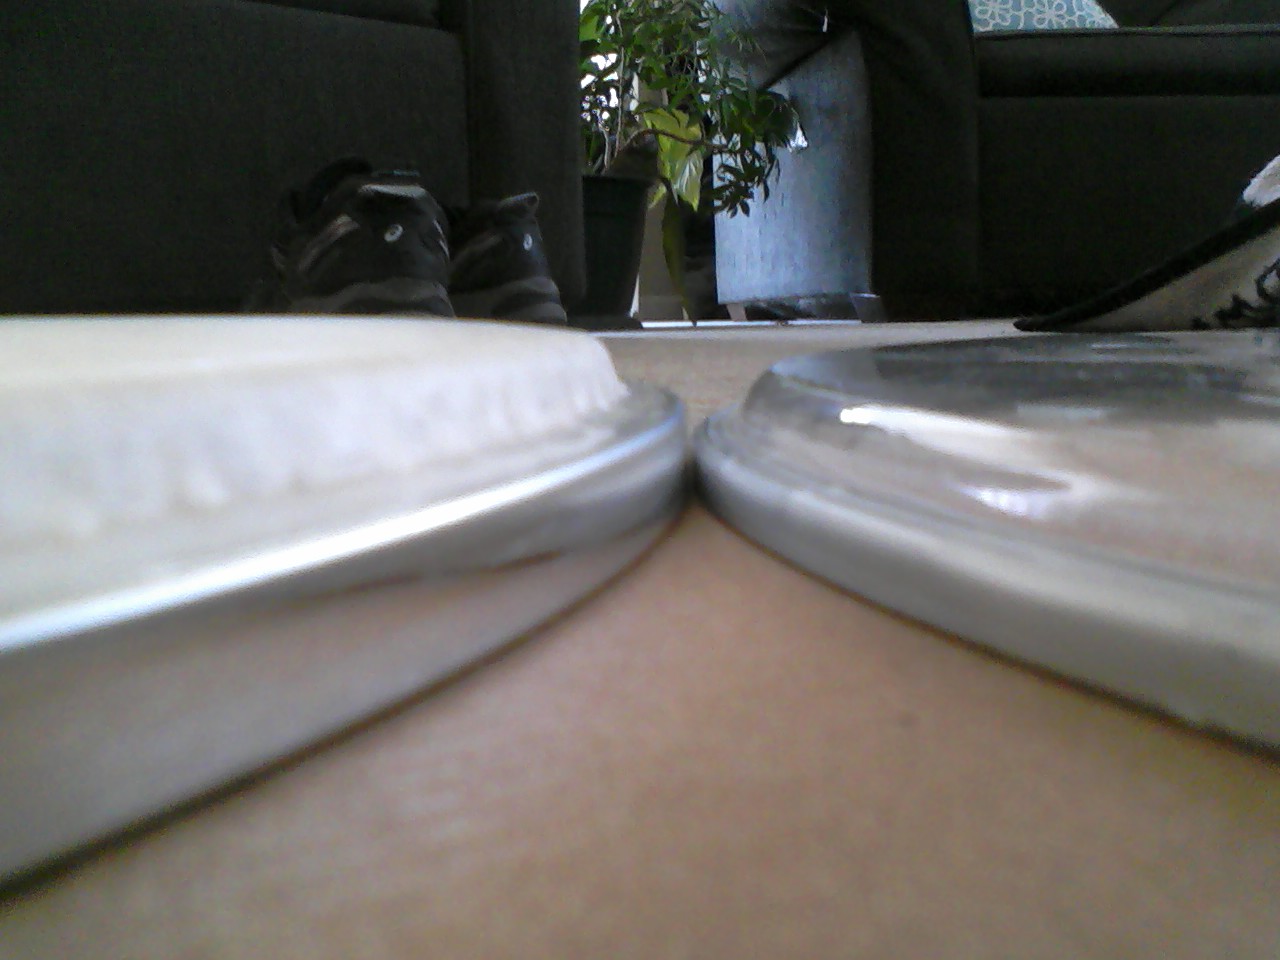
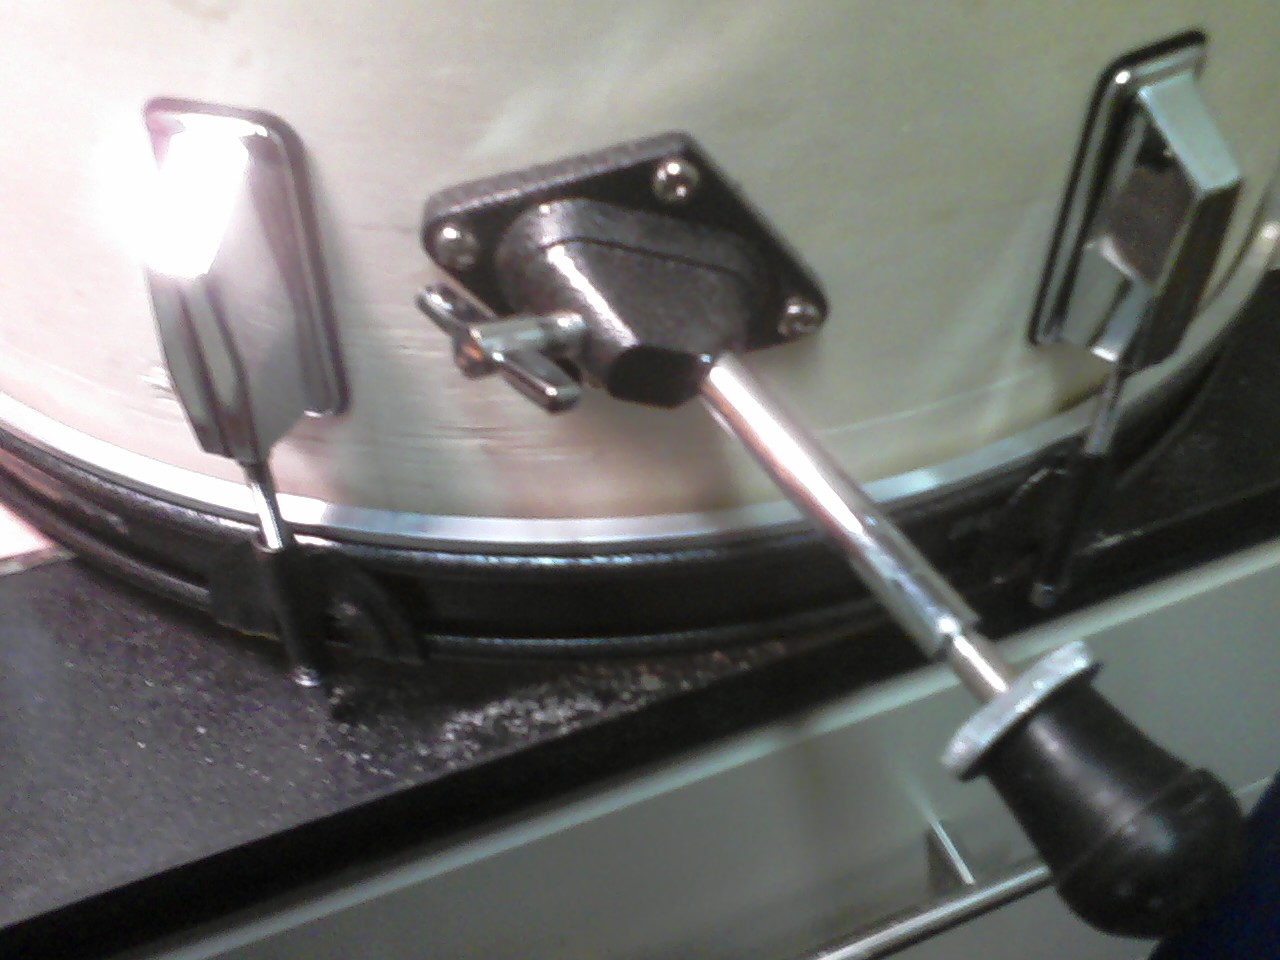
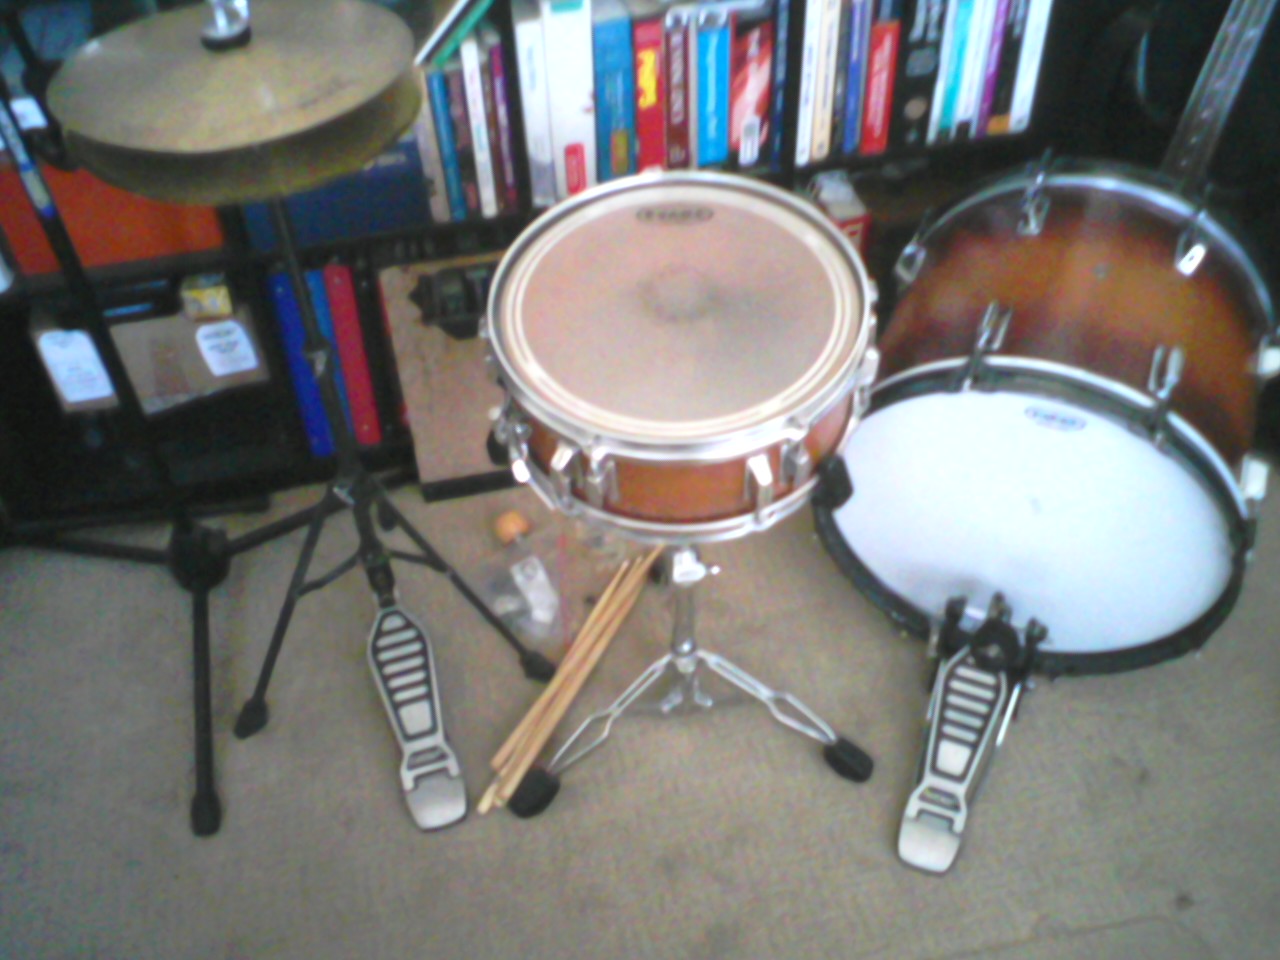
The order arrived. Oh no, a problem! I orderd a "bass" drumhead (on the left), but when comparing the head that came with the drum (on the right) it looks like the drum was actually sized for tom heads. Rims too...
But after I got that all straightened out, it was time to drill new lug and spur mounting holes (sorry, no action shots of me...drilling...the shell).
(Not pictured here, but obviously very important, was to carefully layout all the mounting holes.)
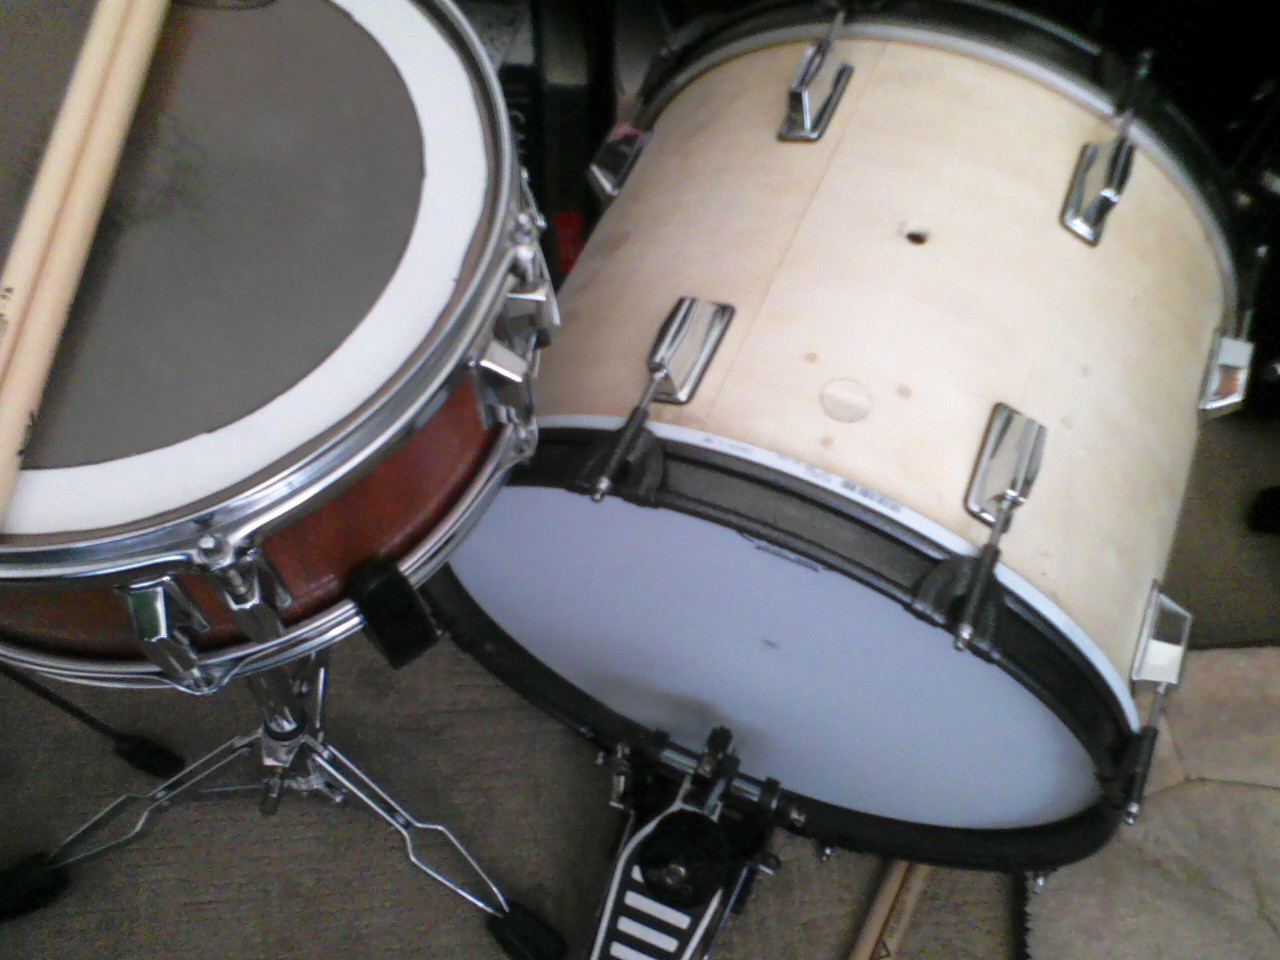
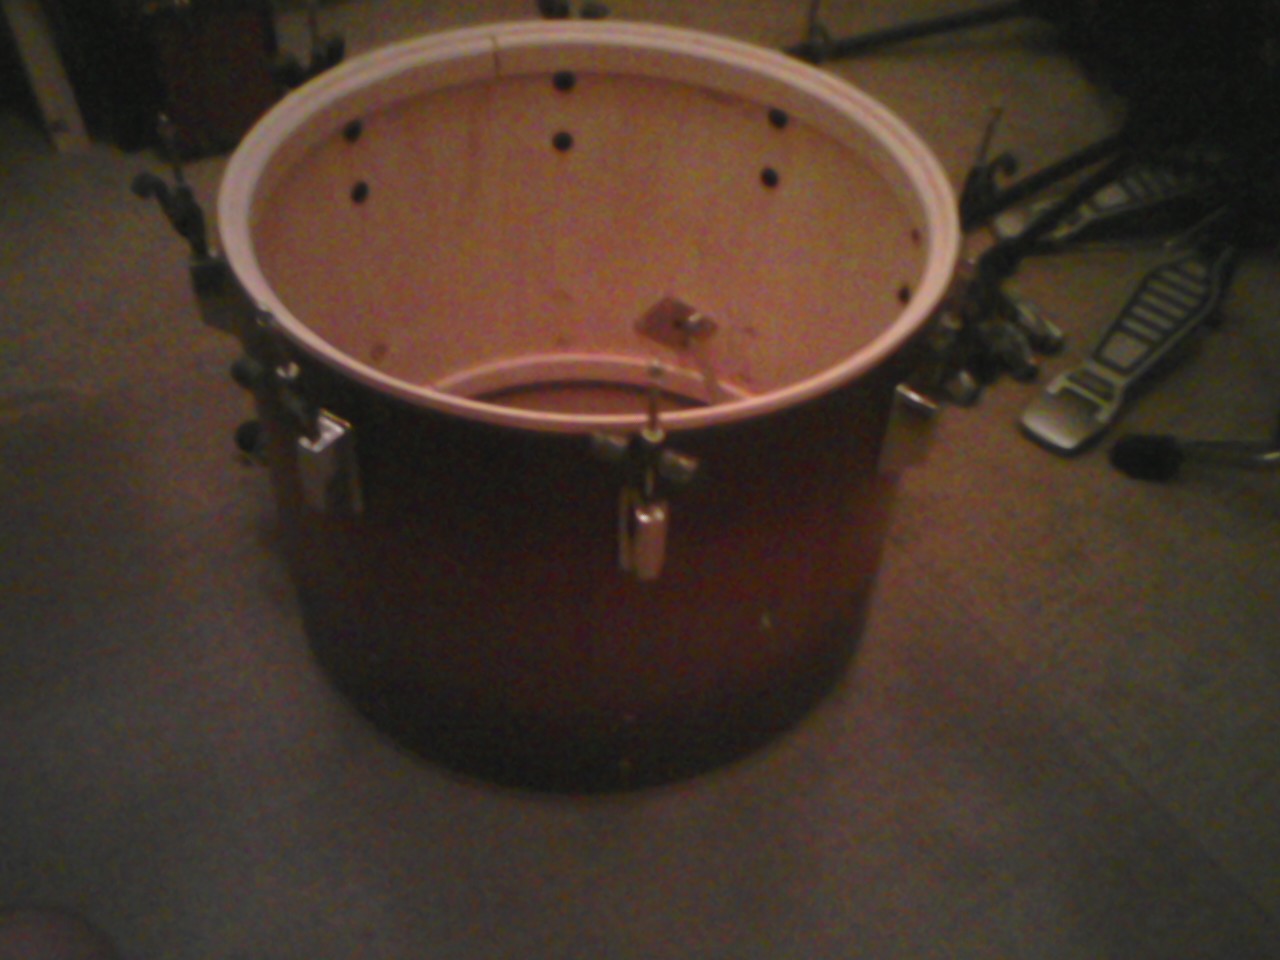
I drilled the holes with a hand-held electric drill. Not the most accurate and stable, but all I have. If you try this yourself, you'll also want to be sure to acquire a small rat-tail/round file, since that makes it possible to "adjust" any incorrect measurements or "slipped bits" while drilling. Once drilled out it was time for a dry fit:
(Here it is, naked, next to the snare.)
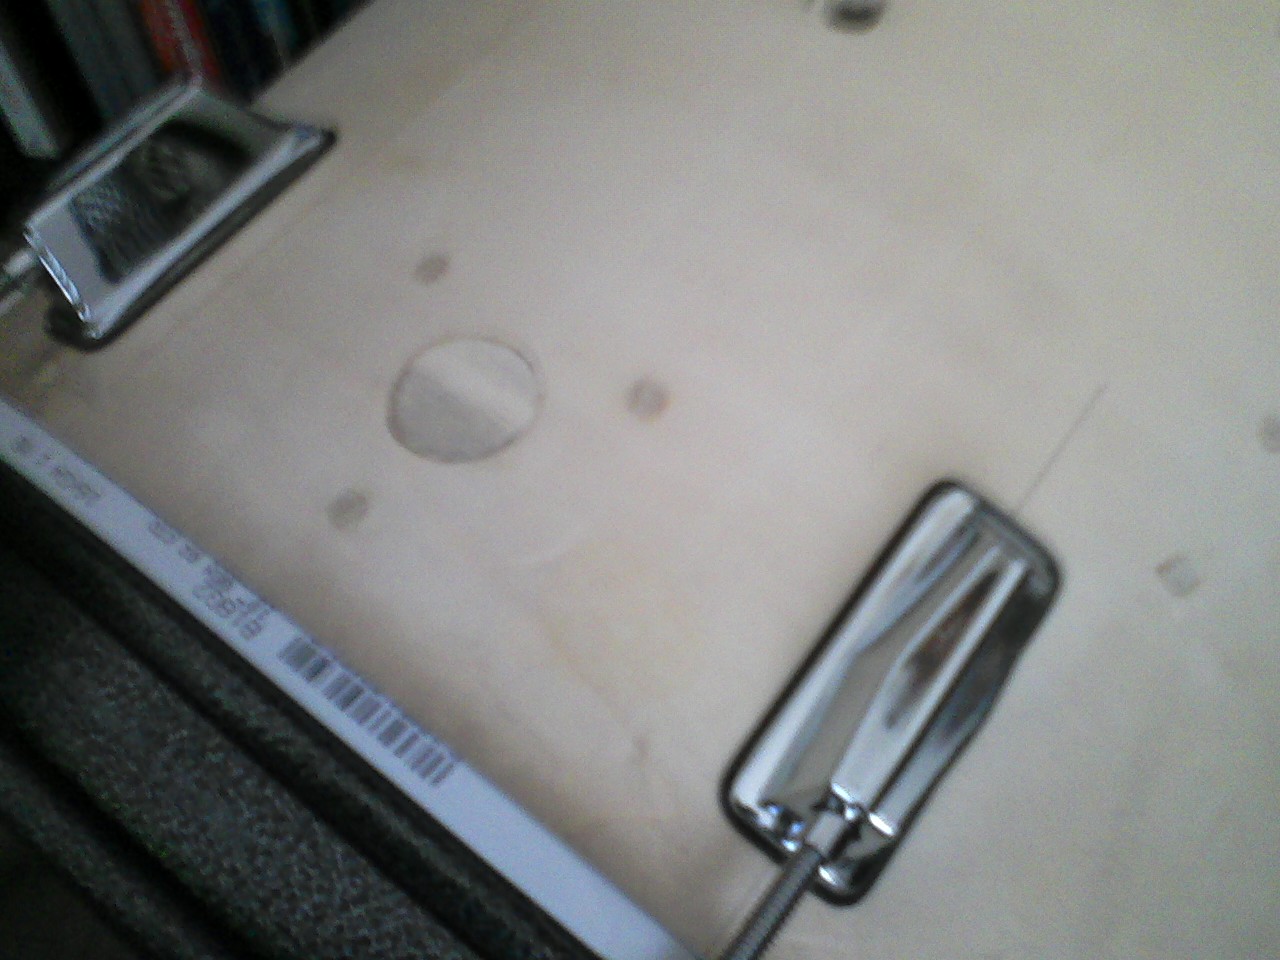
(And here's a close-up of the former tom-mount holes, now filled in.)
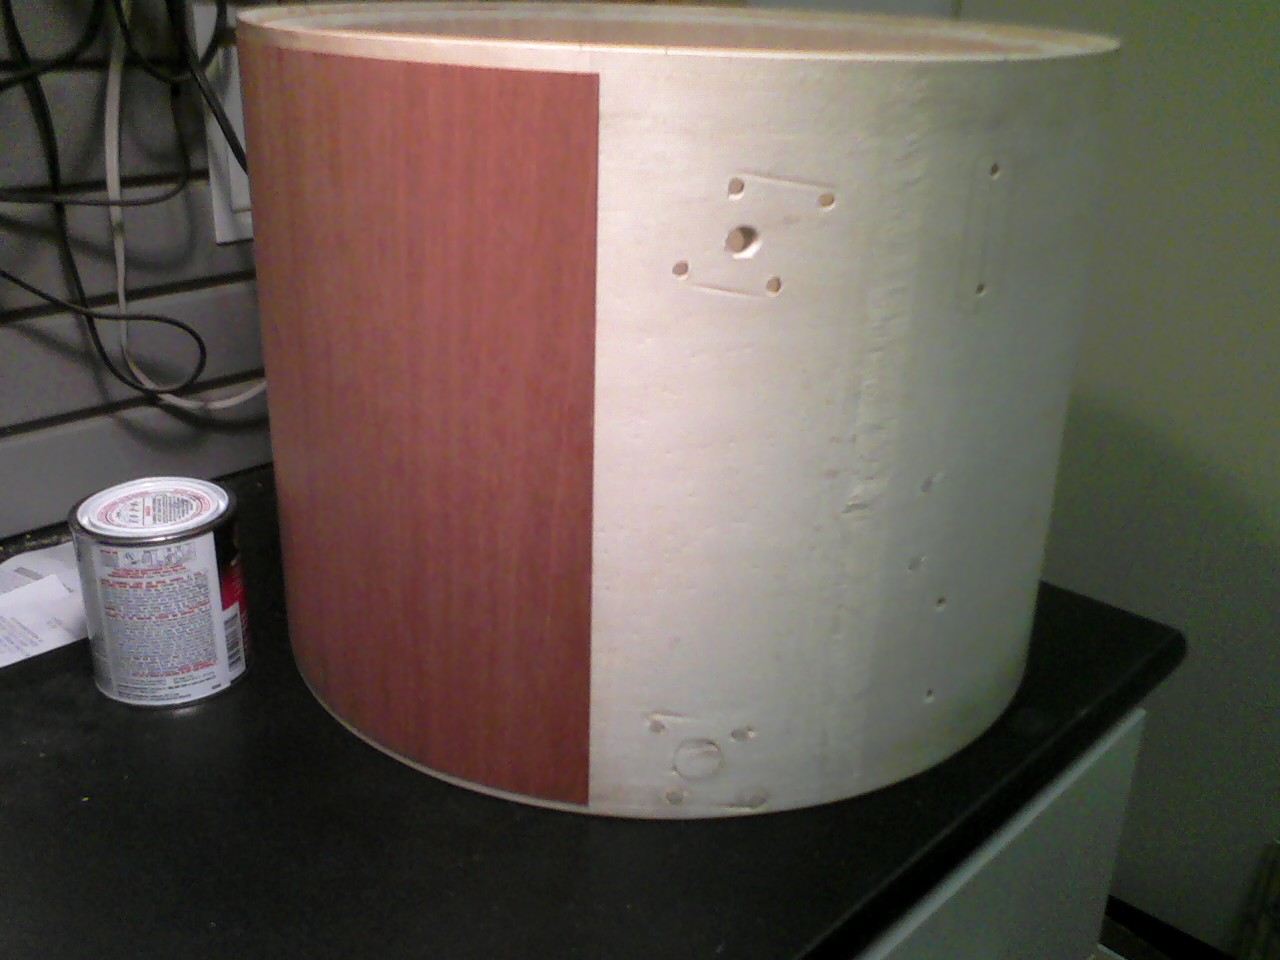
OK, with that all done, it's time to make this thing look good. First, I measured and cut the veneer strips to the proper length, leaving about 1/4" bare wood at the bearing edges so the heads and rims would still fit.
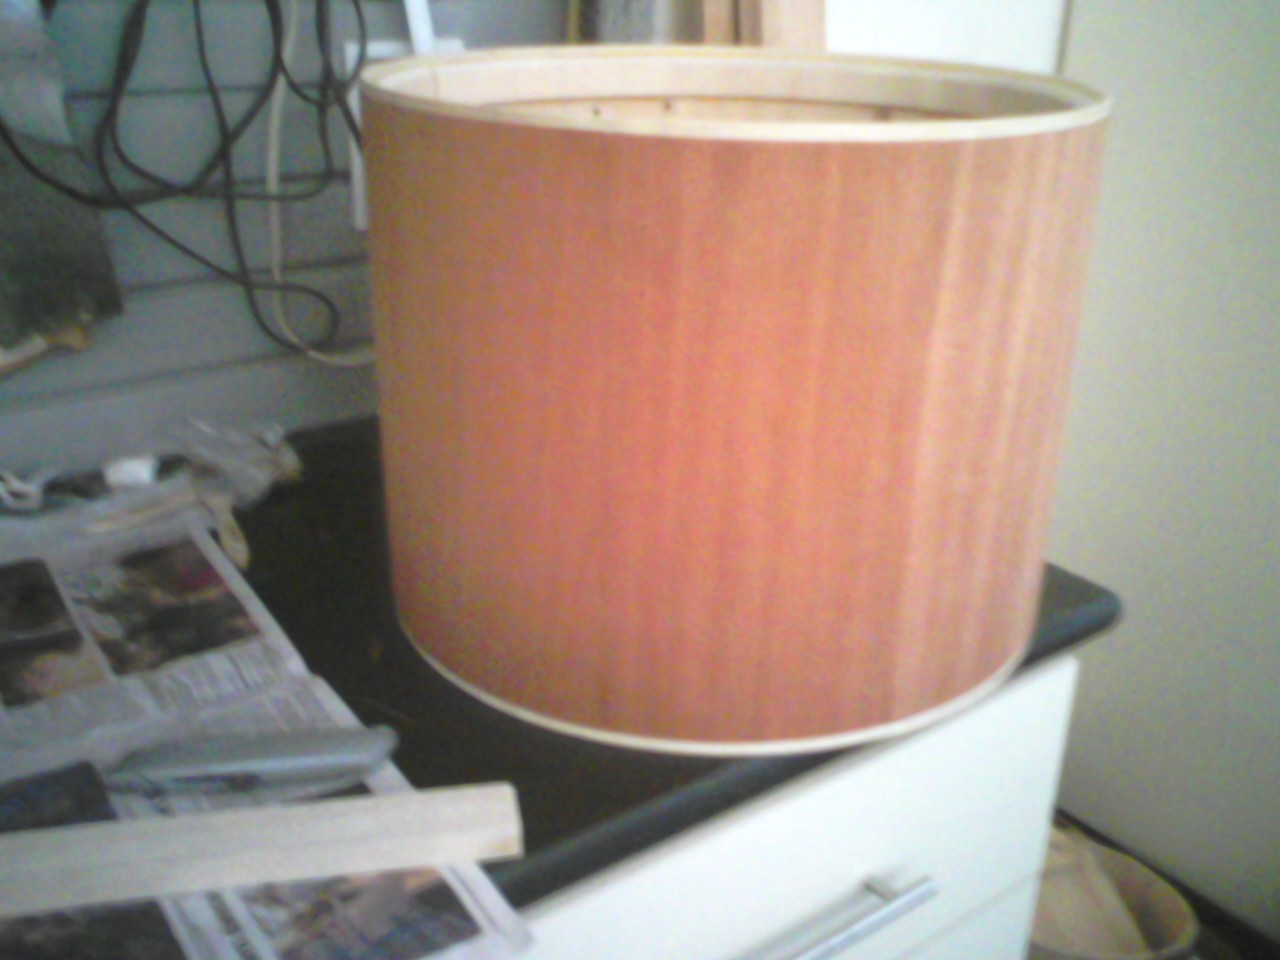
I started gluing the venner to the shell. I used contact cement, applied to both the exterior of the shell and the back side of the veneer, then let it dry 15-20 minutes. Then carefully (!) lined up the sheet of veneer and put it into place. I used a drum stick like a rolling pin to smooth out and press the veneer firmly onto the shell.
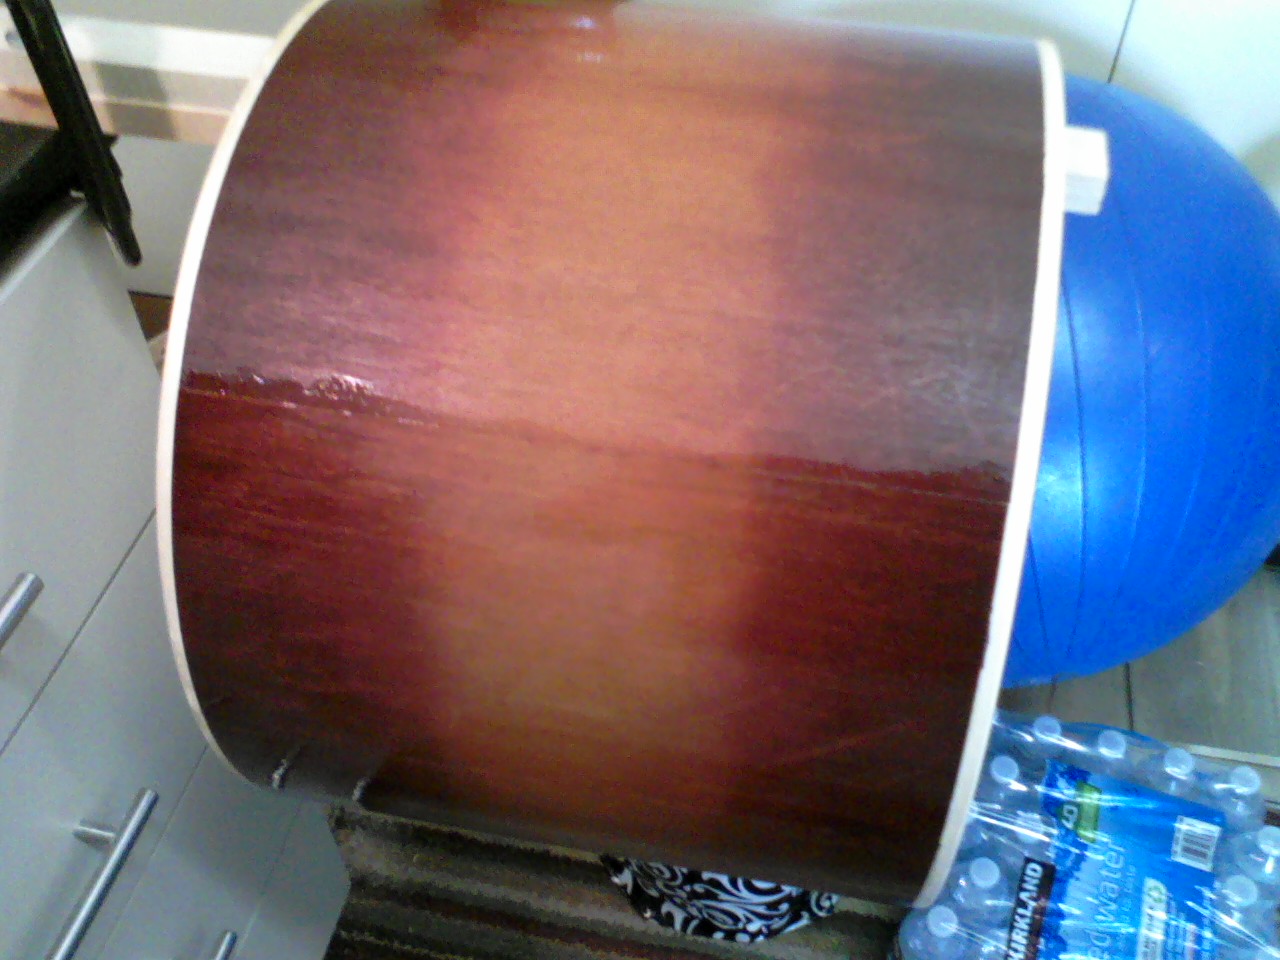
The next step was to stain the mahogany veneer.
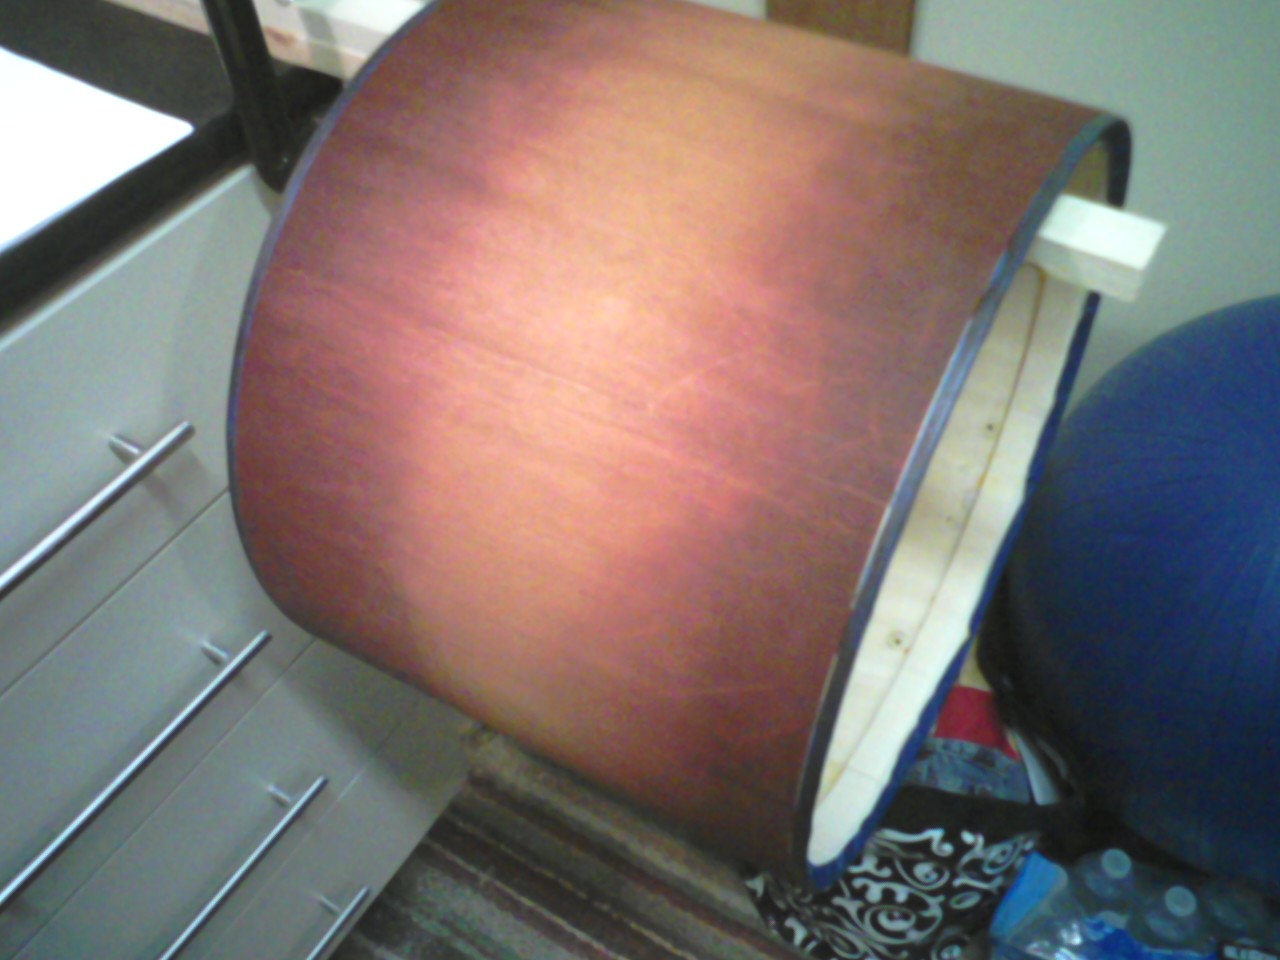
These first two shots show the darker stain I applied to the edges.
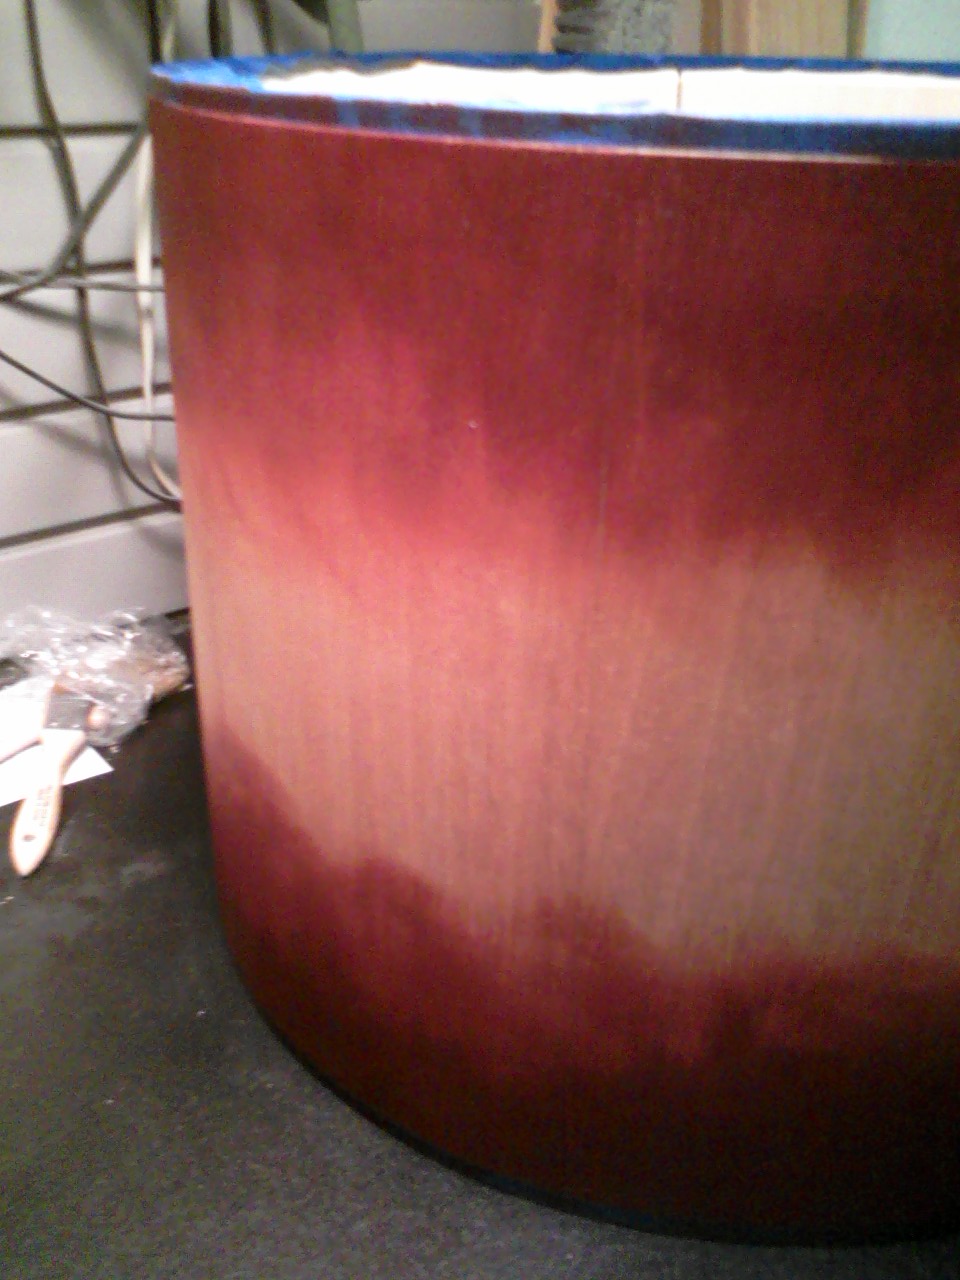
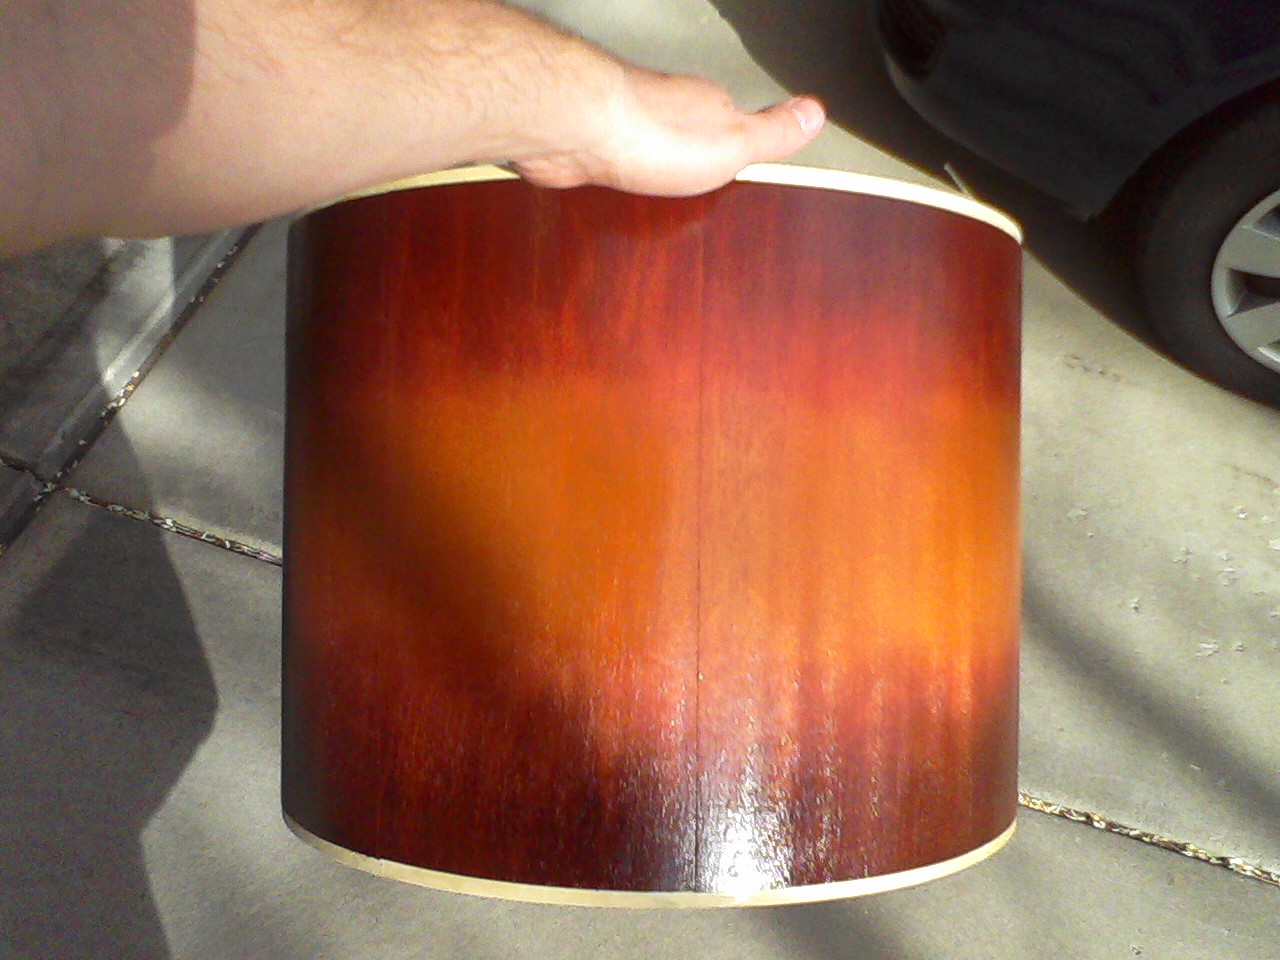
The next few shots show the amber-colored stain applied to the mid-section of the shell.
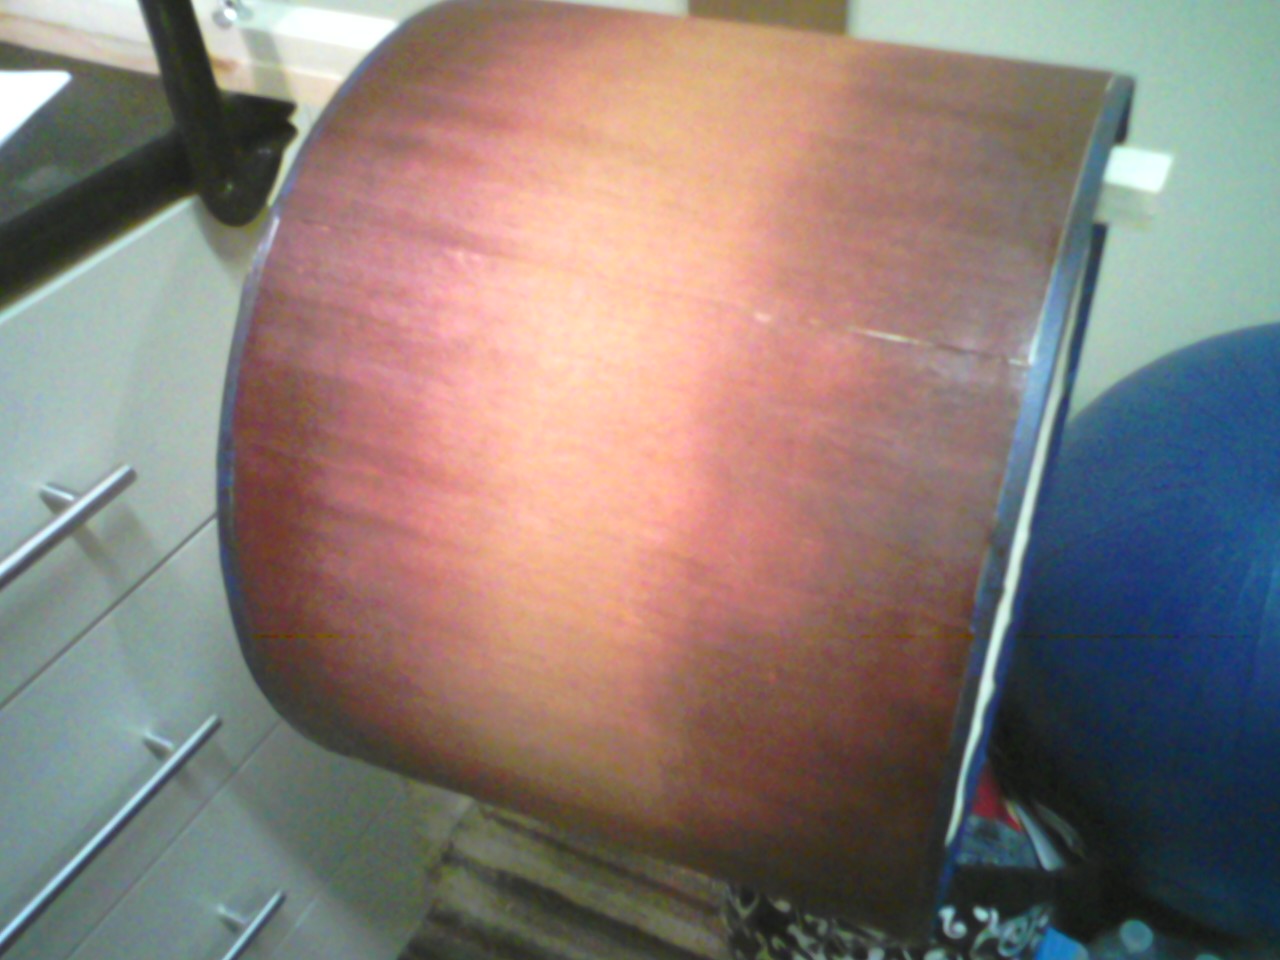
(Blending is hard.)
I used Zar-brand oil-based stains. (Maybe a water-based stain would have blended better?) But I wasn't unhappy with how it worked out overall.
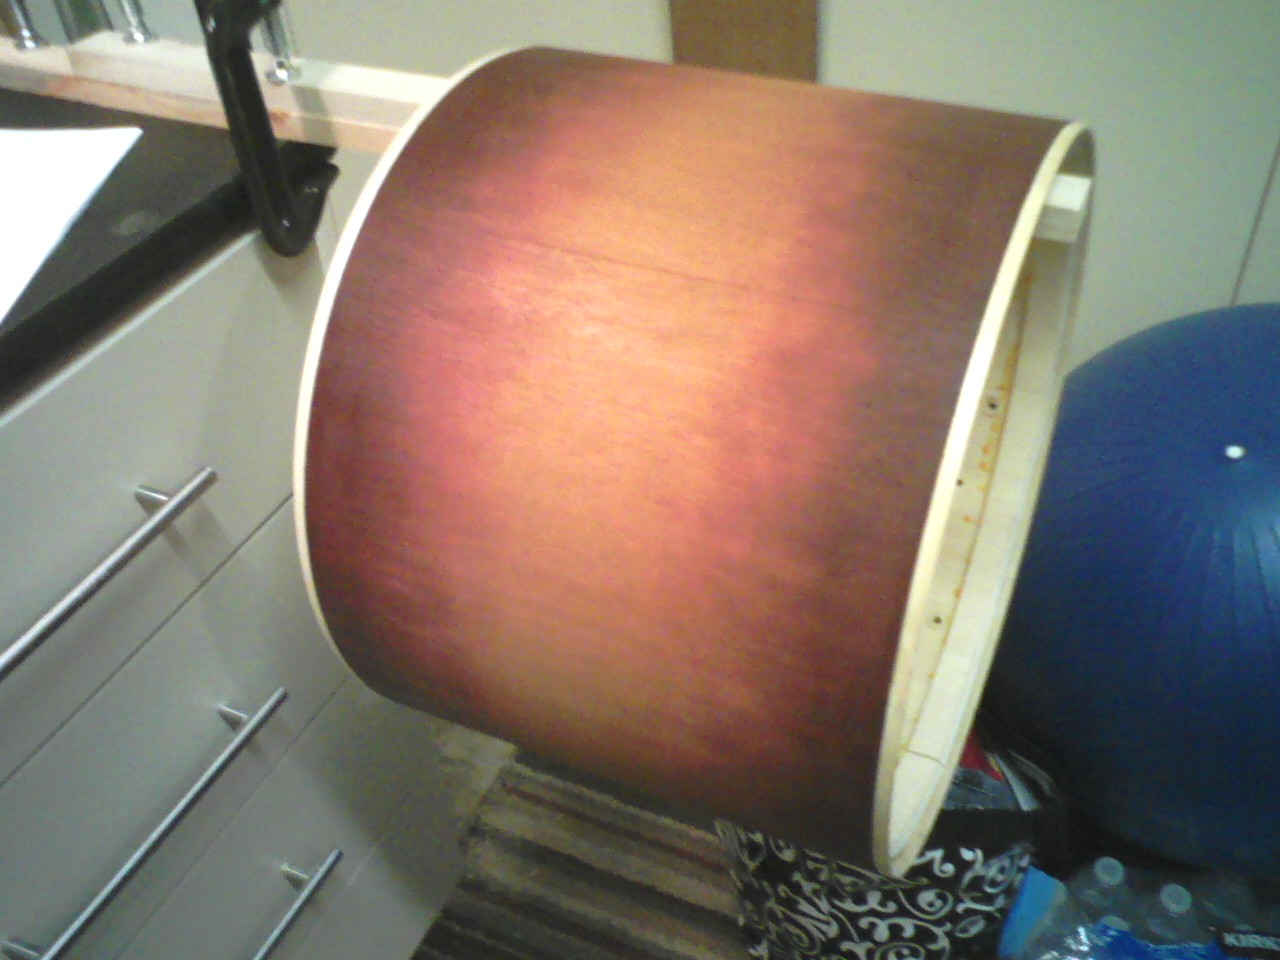
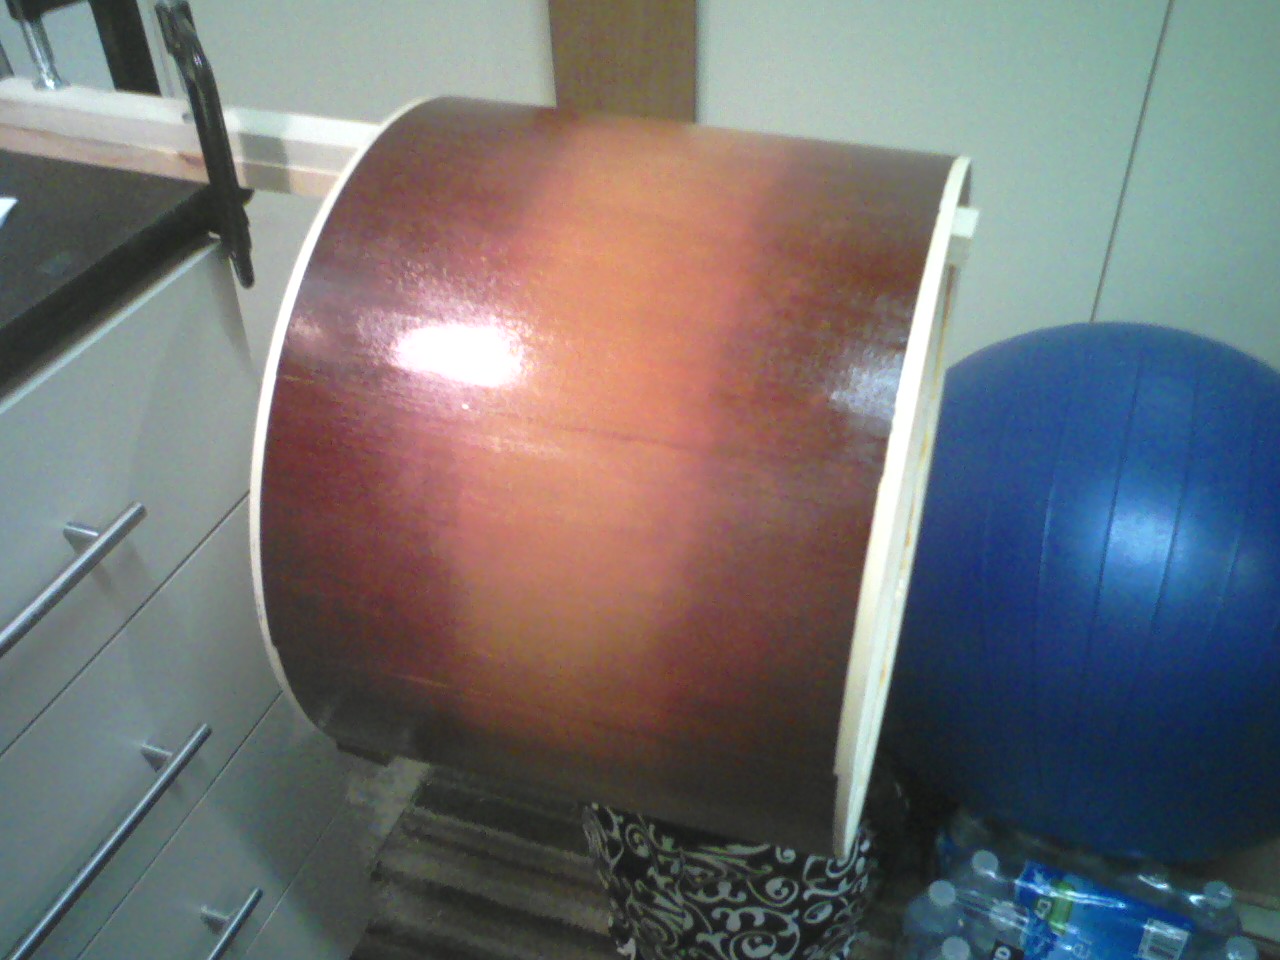
Next up: polyurethane
Spinning it around the support, I applied one thick coat.
(Do you also like the smell of fresh polyurethane?
Though it may be unusual in woodworking circles, there was a method to the madness in applying a single, thick coat of polyurethane. (The choice of mahogany comes into play here as well.) Many people, myself included, don't like the somewhat plastic-like look of really heavy, thick layers of poly over wood. But it's pretty easy to use, is durable, and can look good.
I did want some shine, but I wanted the drum to have a satin-like appearance as well. In my finishing technique experiments on this and the snare drum, I quickly realized that at 3 thin coats, it was too glossy and plastic-y looking. Two coats worked OK, but they had to be thin, especially the 2nd coat. I discovered that I could apply one thick coat (with a foam brush) and get the glossiness I wanted, but the open pores of the mahogany would disrupt the surface enough to give it some satin.
(See the final photo on this page for the best look at the finish.)
When it was dry, it was time to re-drill through the mounting holes...
...and then assemble it (for real this time)!
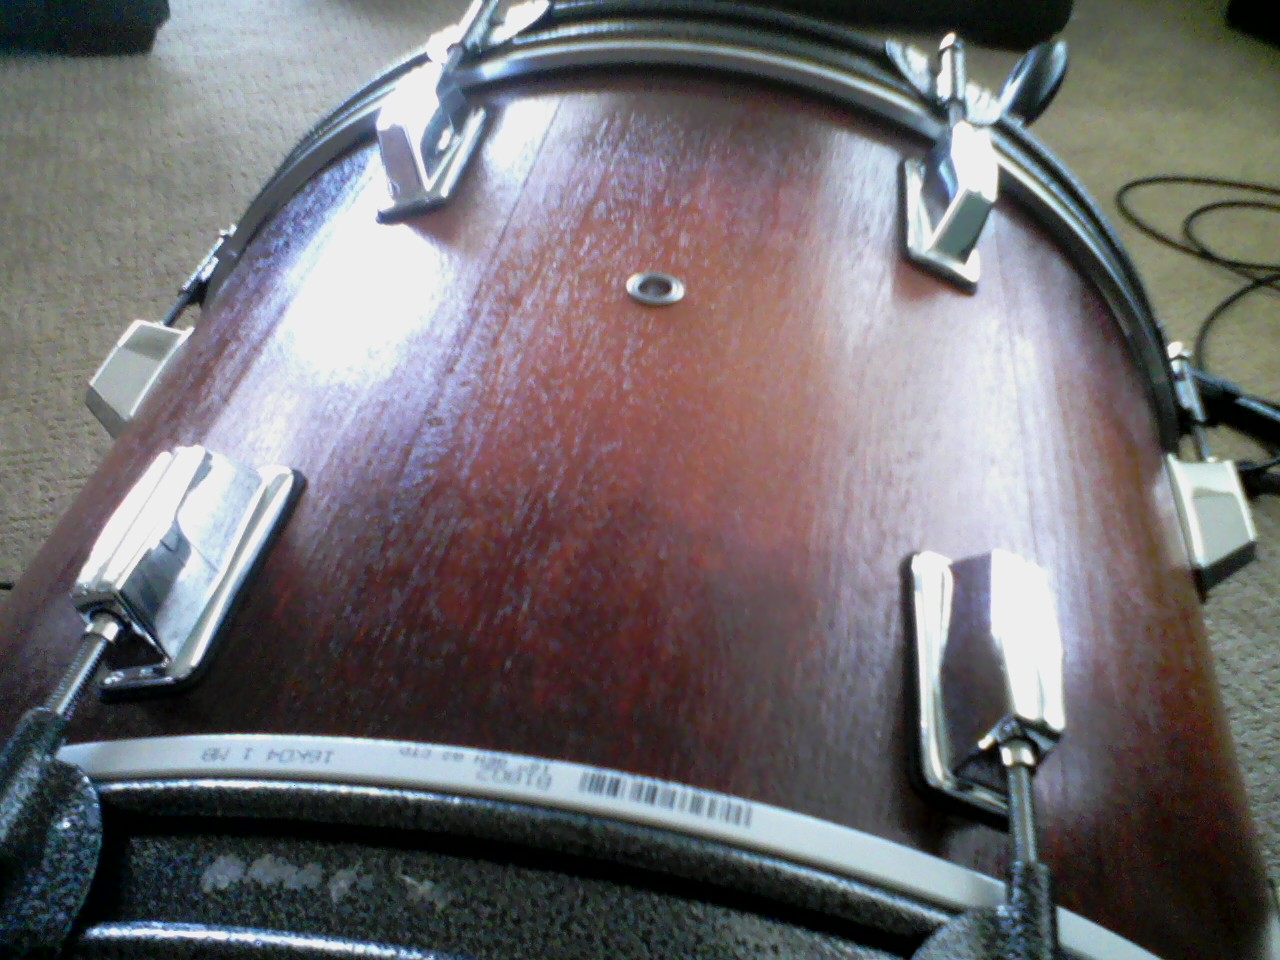
(I was so excited I couldn't wait until the morning for better light...I had to take poorly-lit pictures with my ancient cell phone right away!)

The light was better the next day (but the camera on my cell was still horrible).
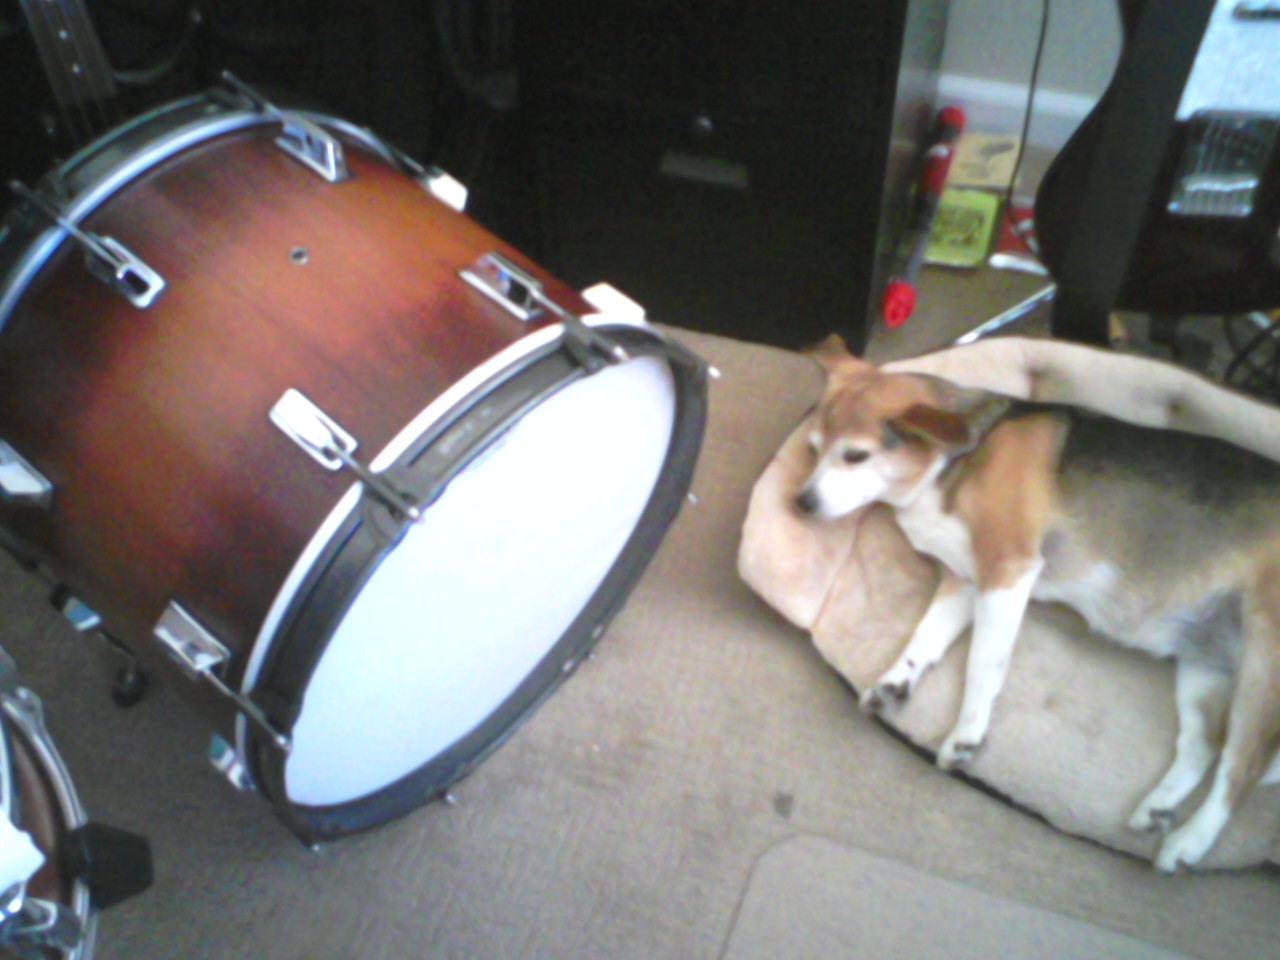
(My dog follows me around everywhere, until I pick up the sticks...then she runs away, fast! Maybe she knows my drumming skills are beginner-level.)
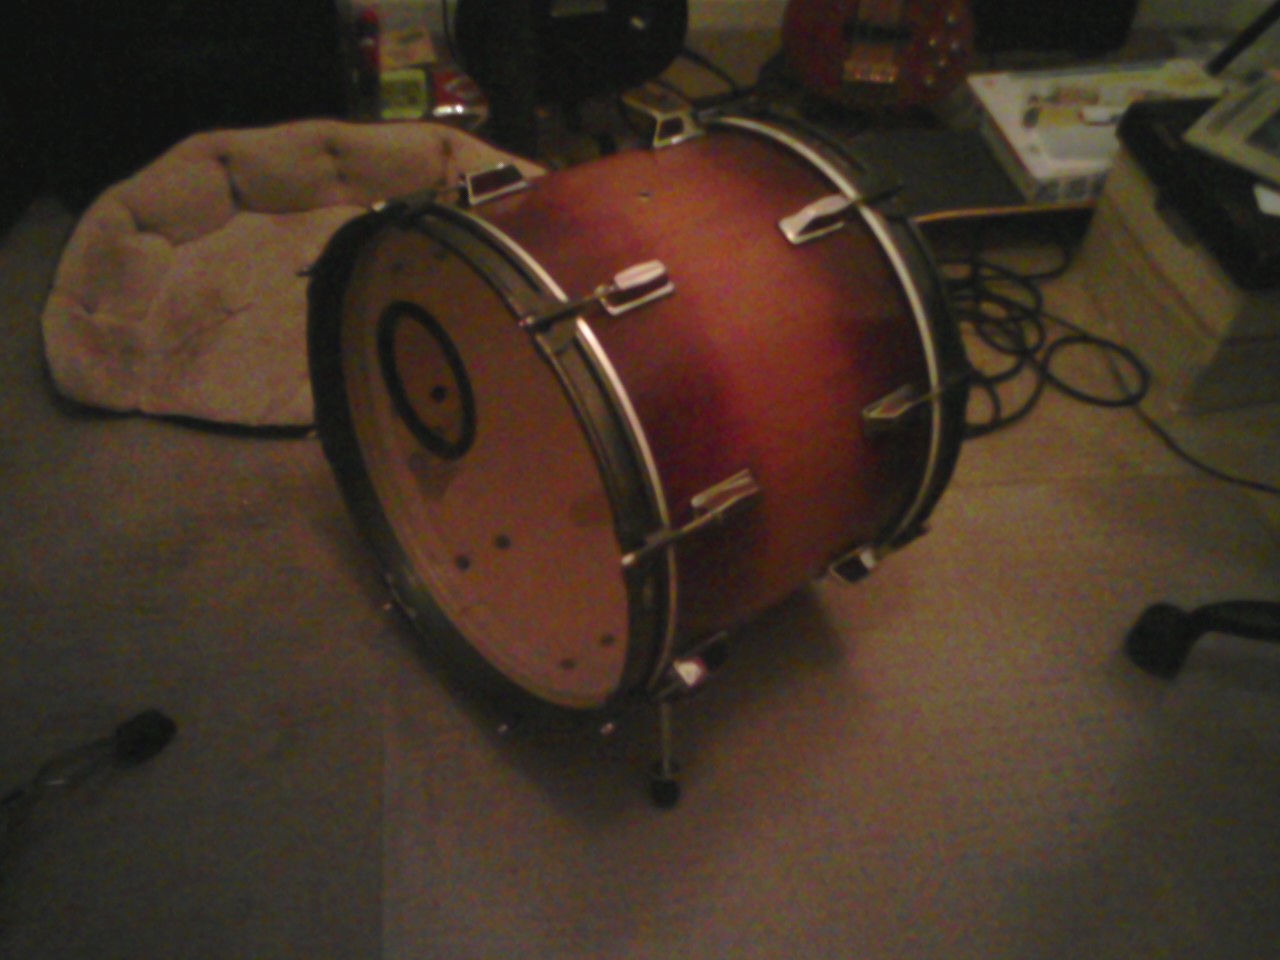
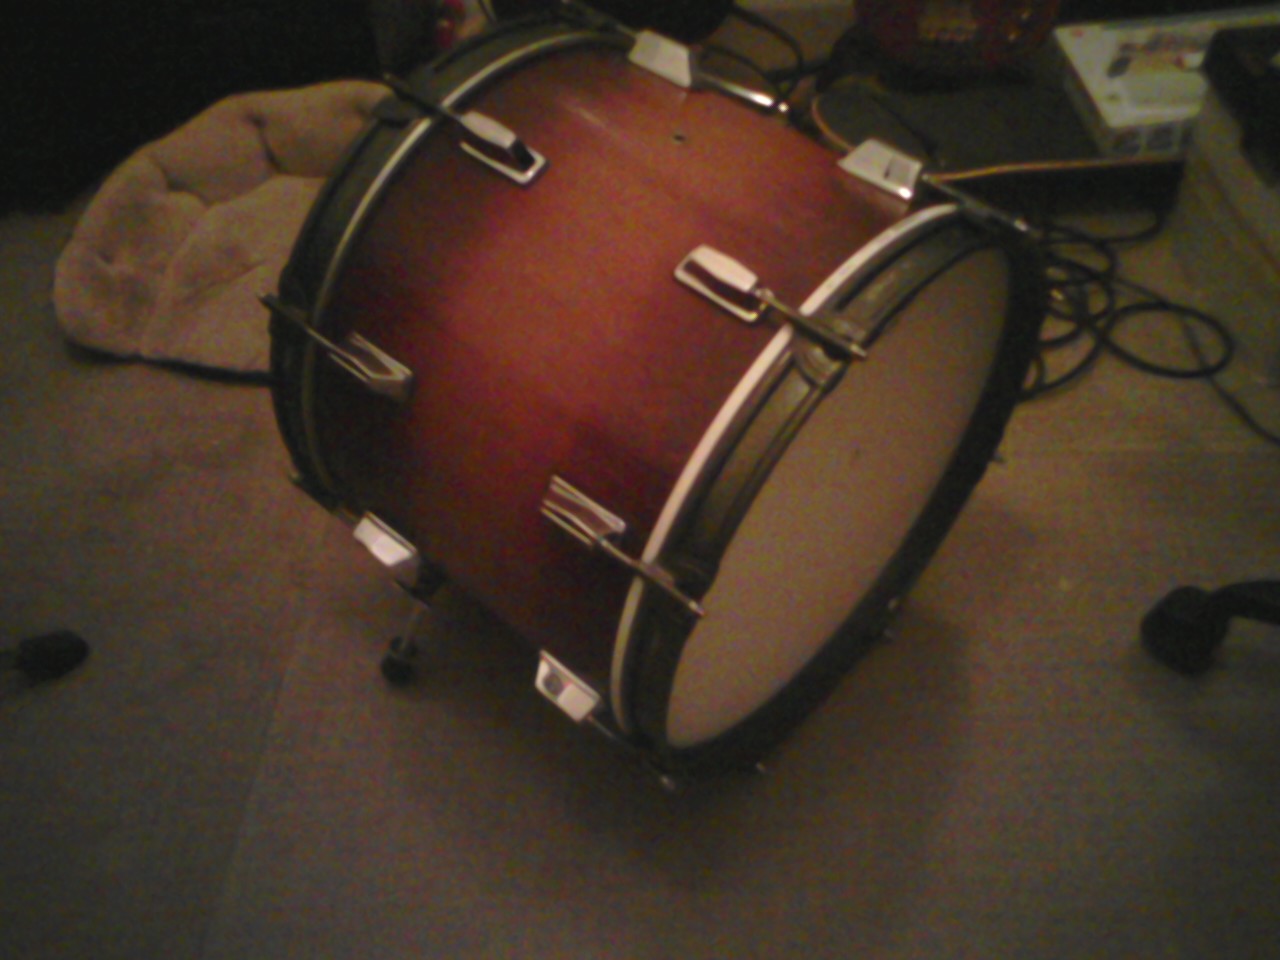
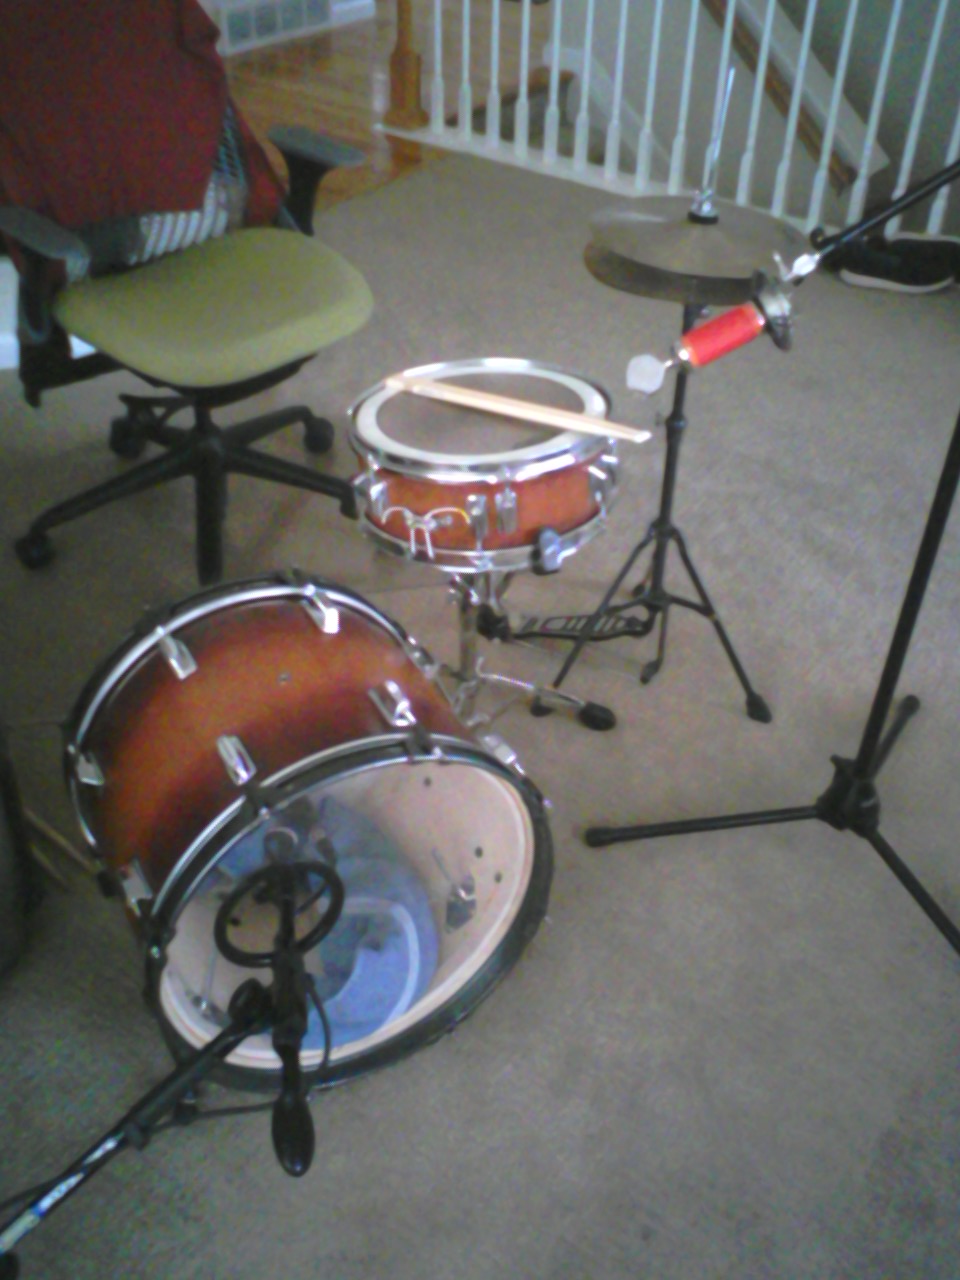
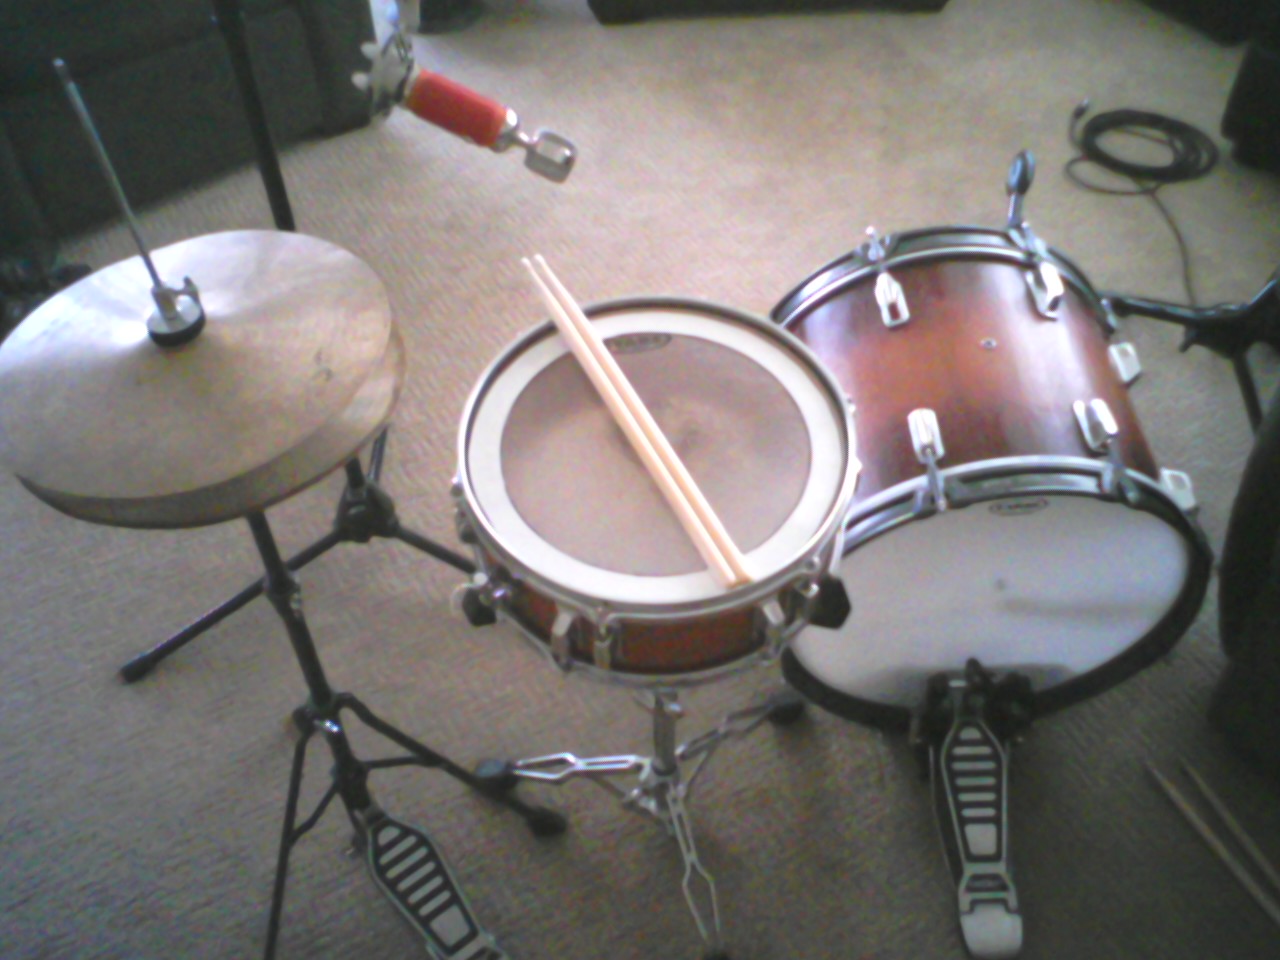
And finally, here it is, sitting in its place, next to the snare and hat, crammed into my little office. You can see that I got a better color fade this time compared to the snare.
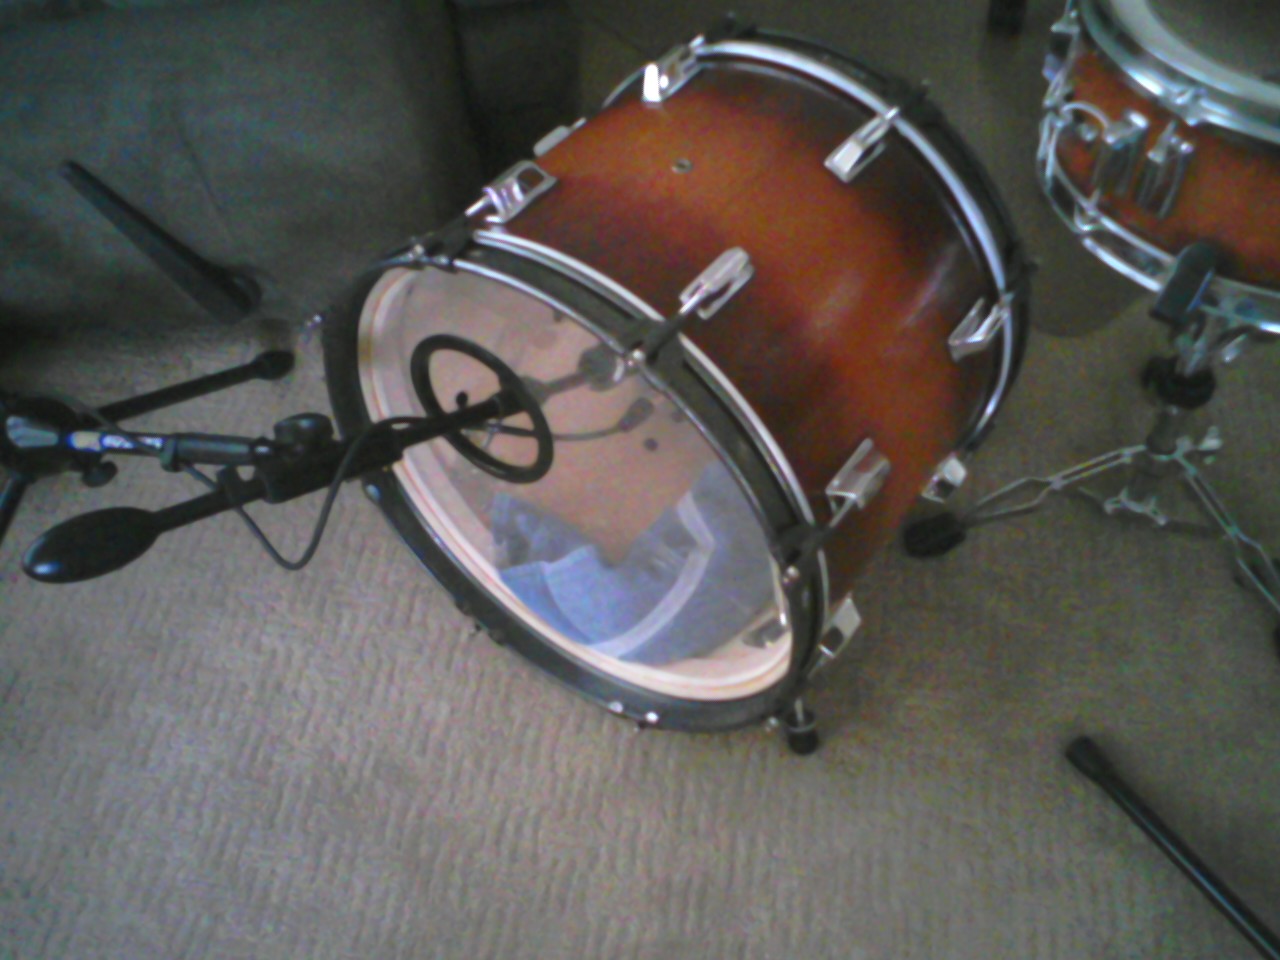
Later I let it out of the office and into the living room to mic it up and give it a test run.
I have only a 2-channel interface, so 2 mics it is: 1 inside the bass drum, and one close to the snare but acting kind of like an overhead, picking up both the snare and the cymbals (only the hi-hat in my case). Here's how the kit sounds unprocessed, and with a little bit of EQ.
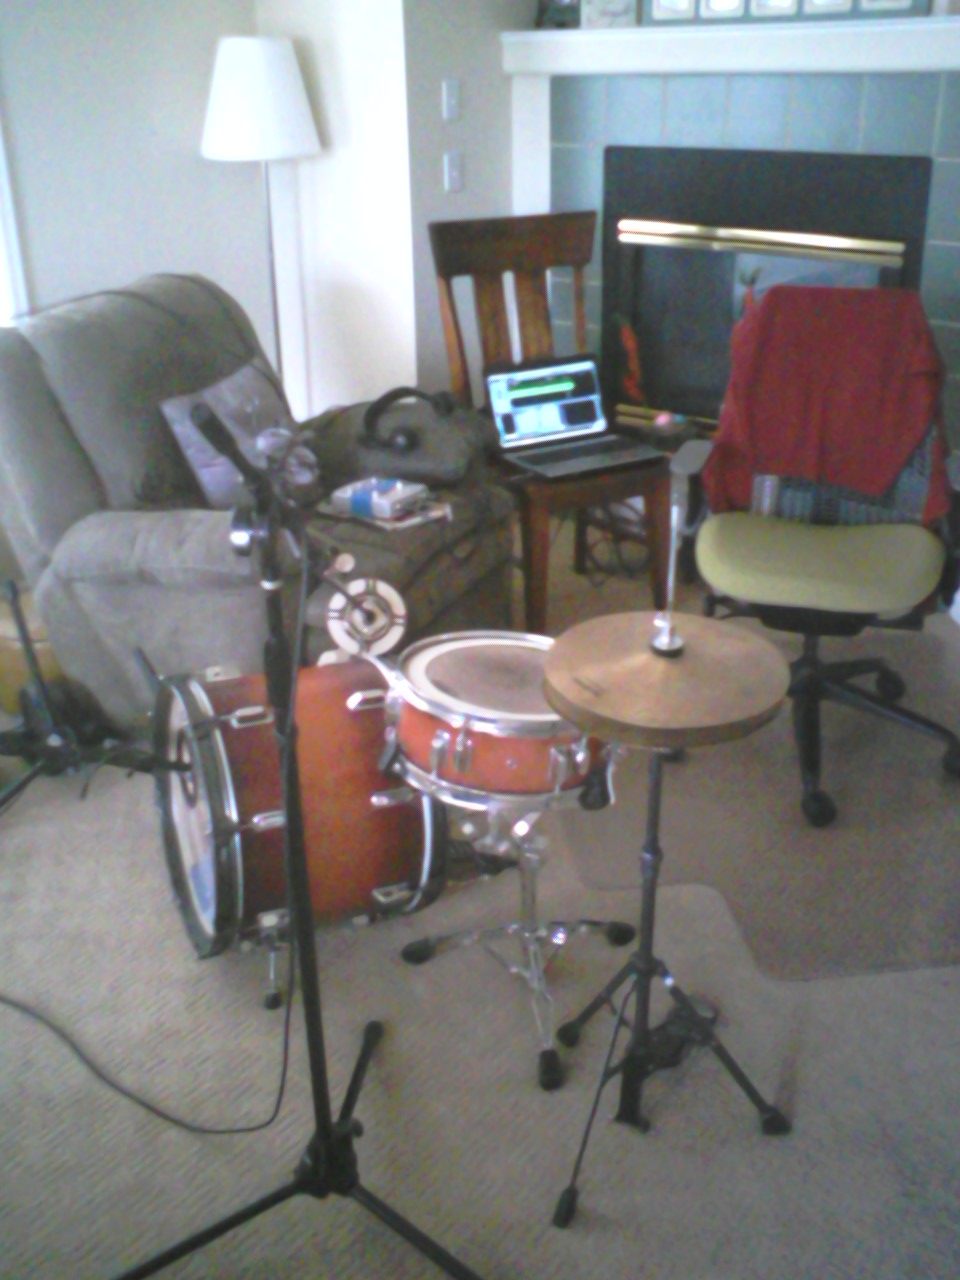
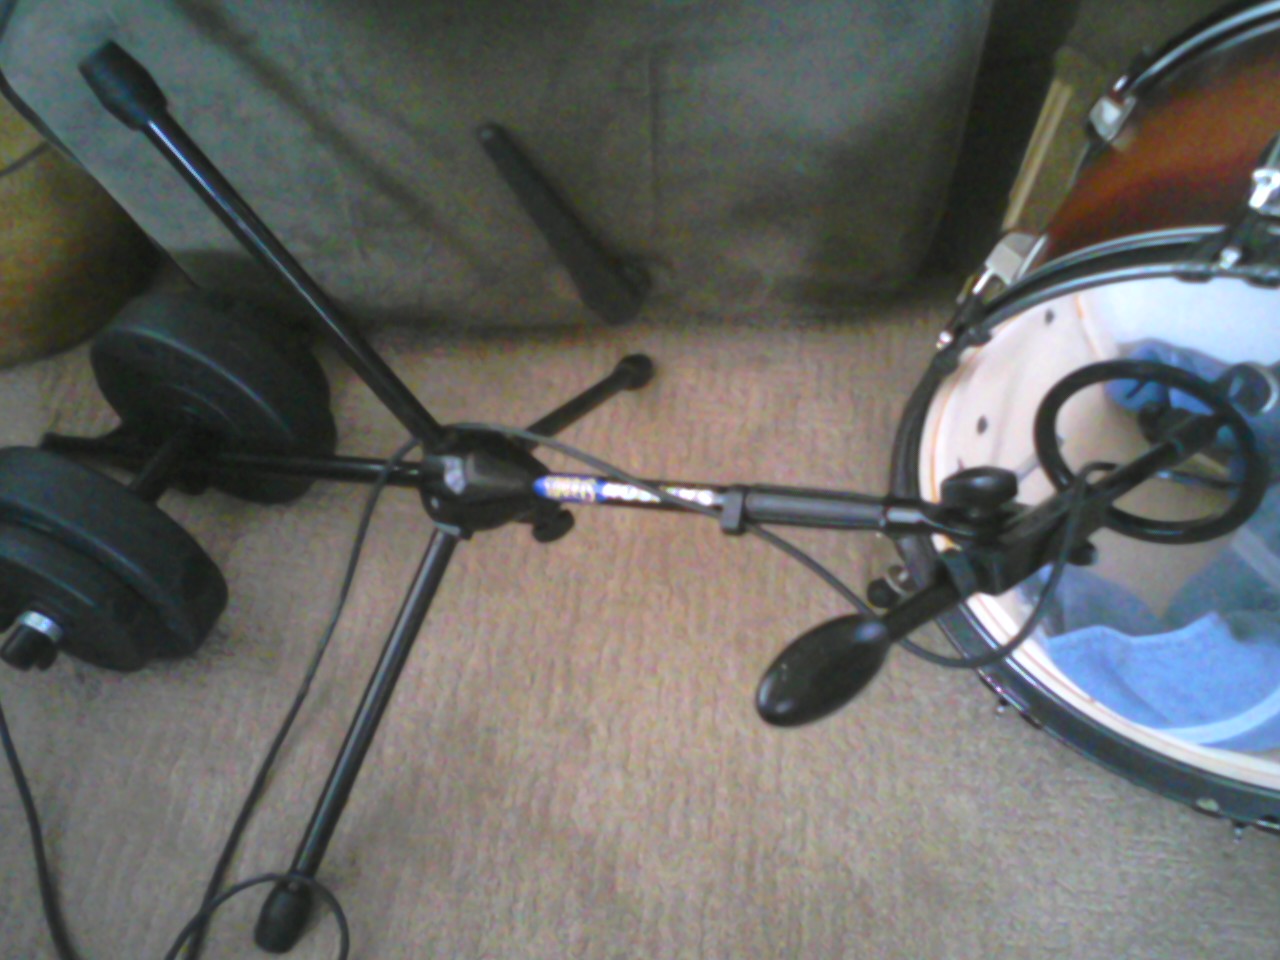
(I don't own a short mic stand, but moving up the tripod base and adding weight to the back end of the stand lets you arrange it so the mic will go into the body of the drum.
(Detail of surface/finish.)
- Spring, 2017